Most tile problems start long before the grout dries. Cracks, leaks, and mold all trace back to one critical step many skip: proper substrate preparation. In this post, you’ll learn exactly why getting that foundation right saves you from costly repairs and frustration down the road—and how you can make sure your tile installation lasts for years without fail.
Importance of Substrate Preparation
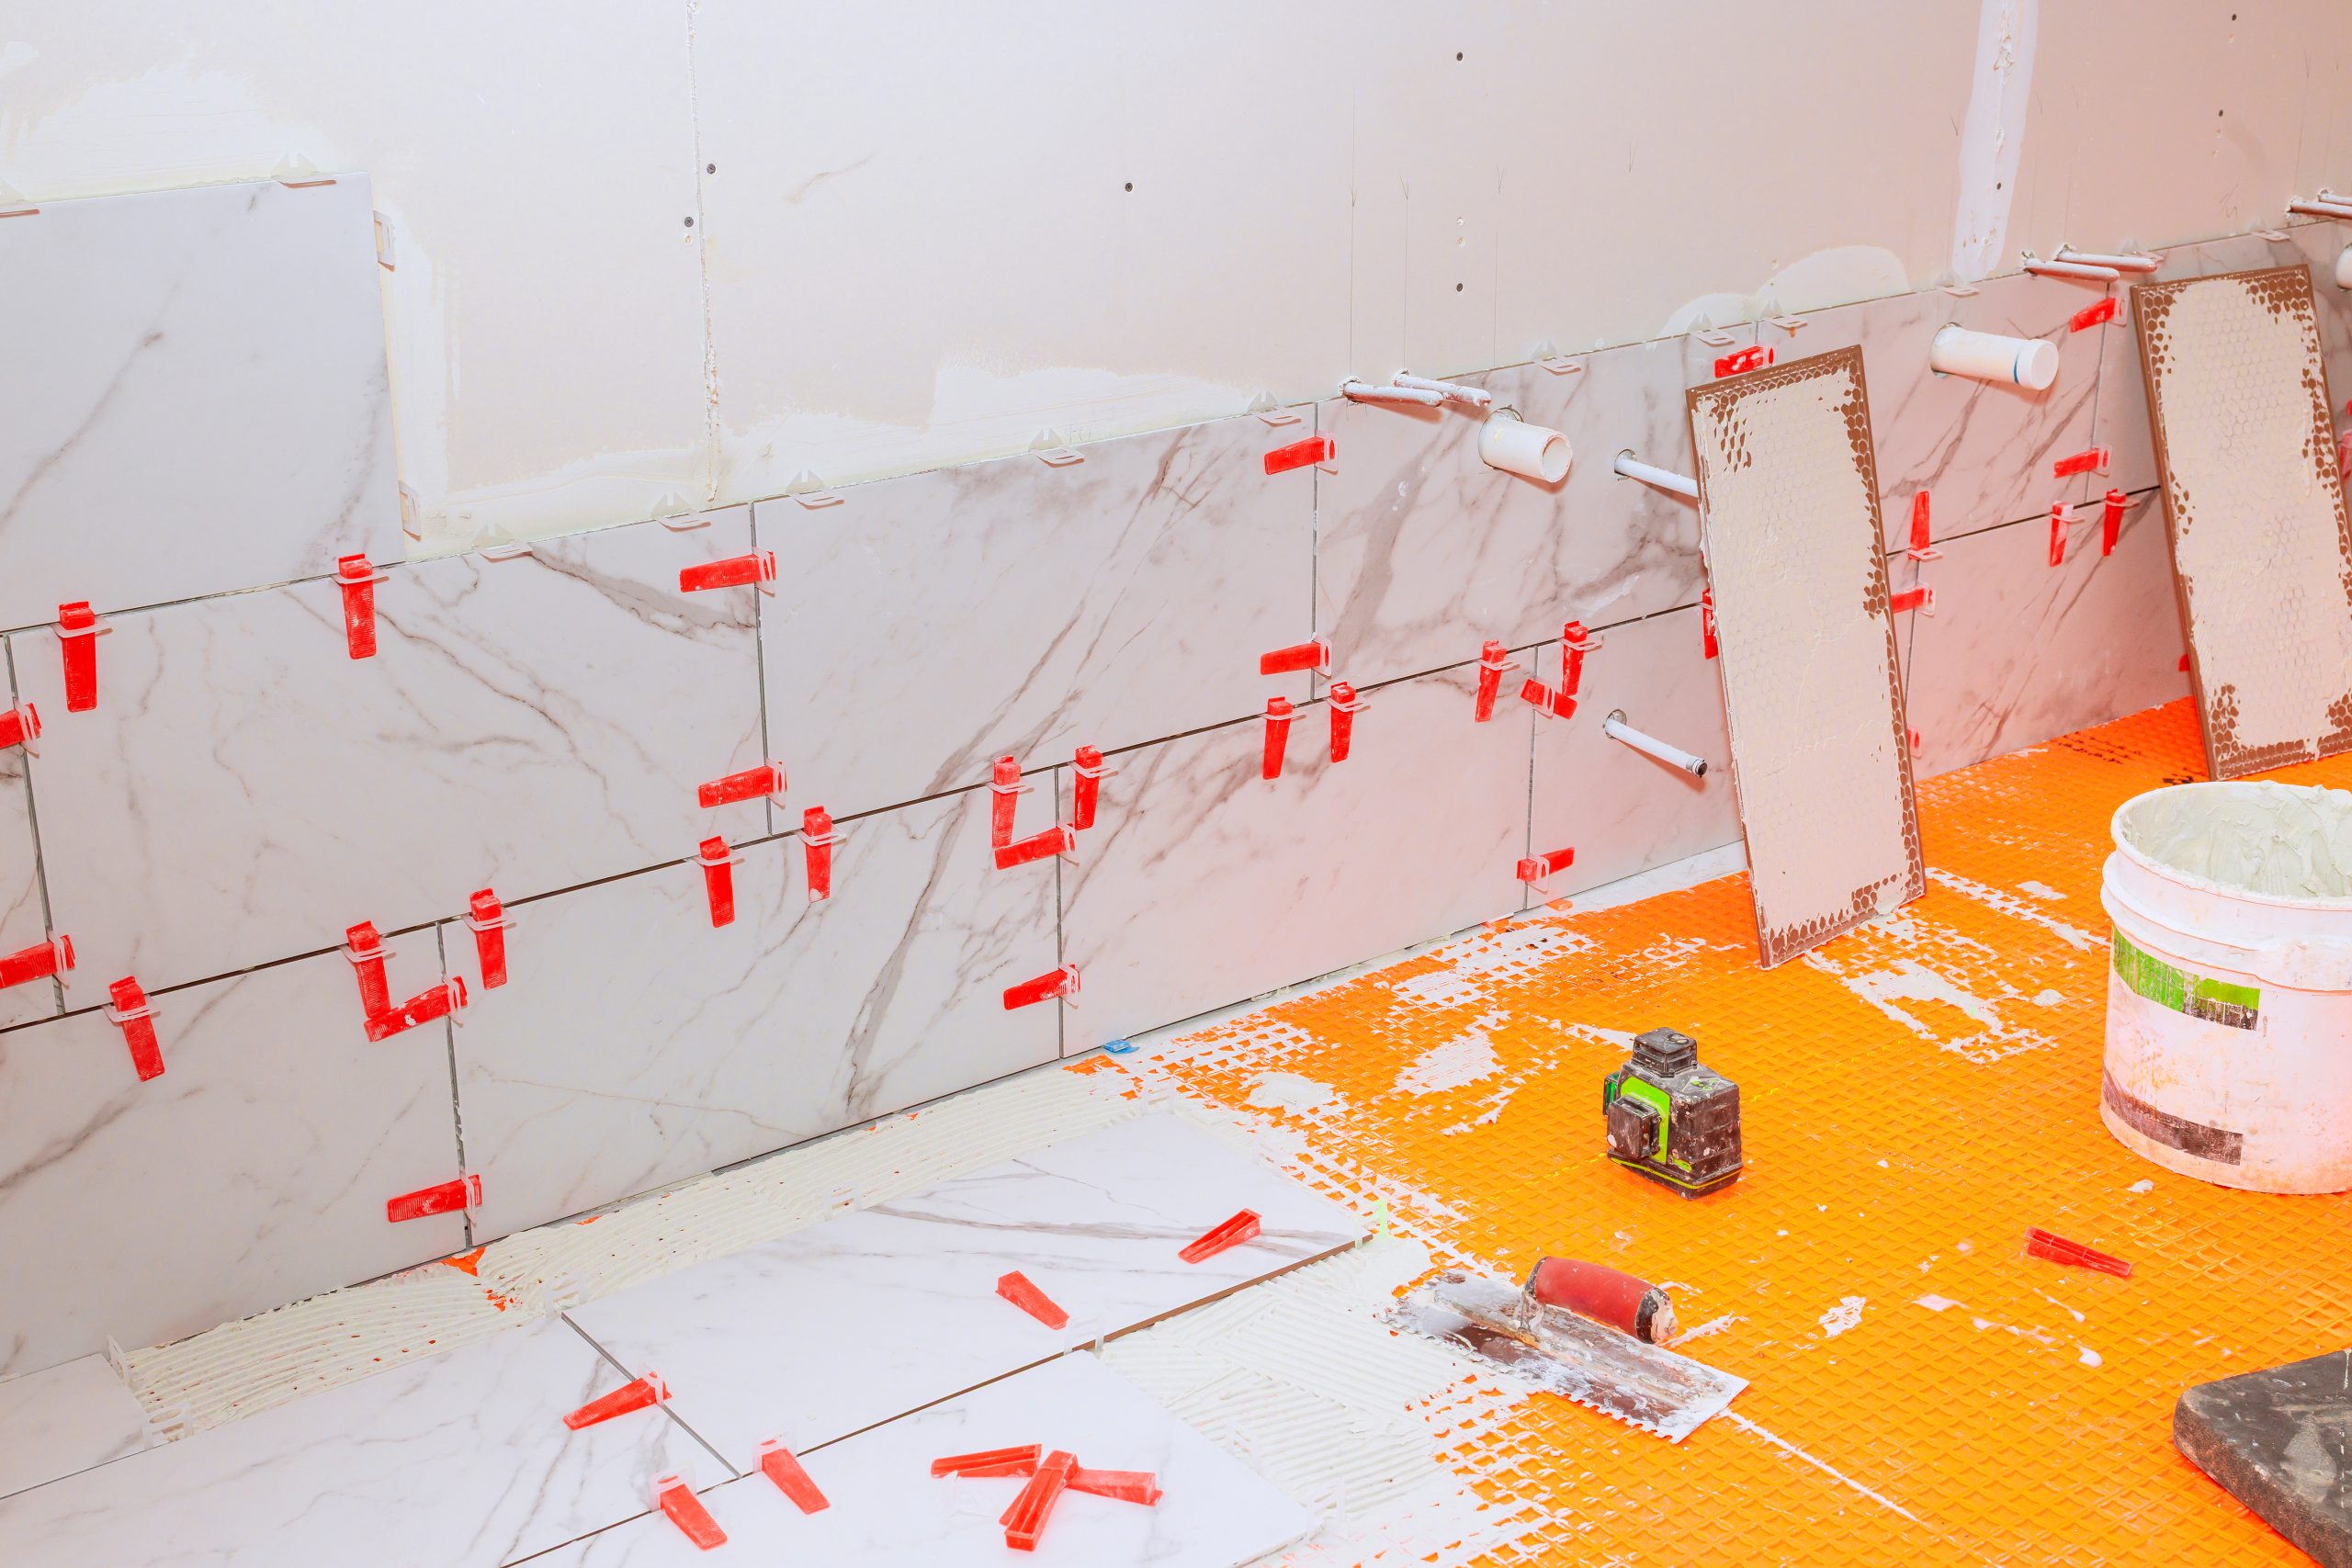
When embarking on a tile project, preparing your substrate correctly can make all the difference. This foundational step is crucial in ensuring your tiles remain intact and beautiful.
Prevent Tile Cracks
Tile cracks often stem from an unstable base. Without the right preparation, your tiles are vulnerable to shifts and breaks. Many homeowners mistakenly believe that choosing the right tile guarantees durability. But the truth? The base beneath your tile is what truly matters. A flat, clean, and stable substrate prevents movement that could lead to cracks.
Imagine laying tiles on a bumpy road. Over time, those bumps cause stress, leading to inevitable cracks. By ensuring your substrate is smooth and secure, you give your tiles the best chance to stay crack-free. Think of it as the unsung hero of tile longevity, quietly supporting your beautiful floor or wall.
Avoid Leaks Effectively
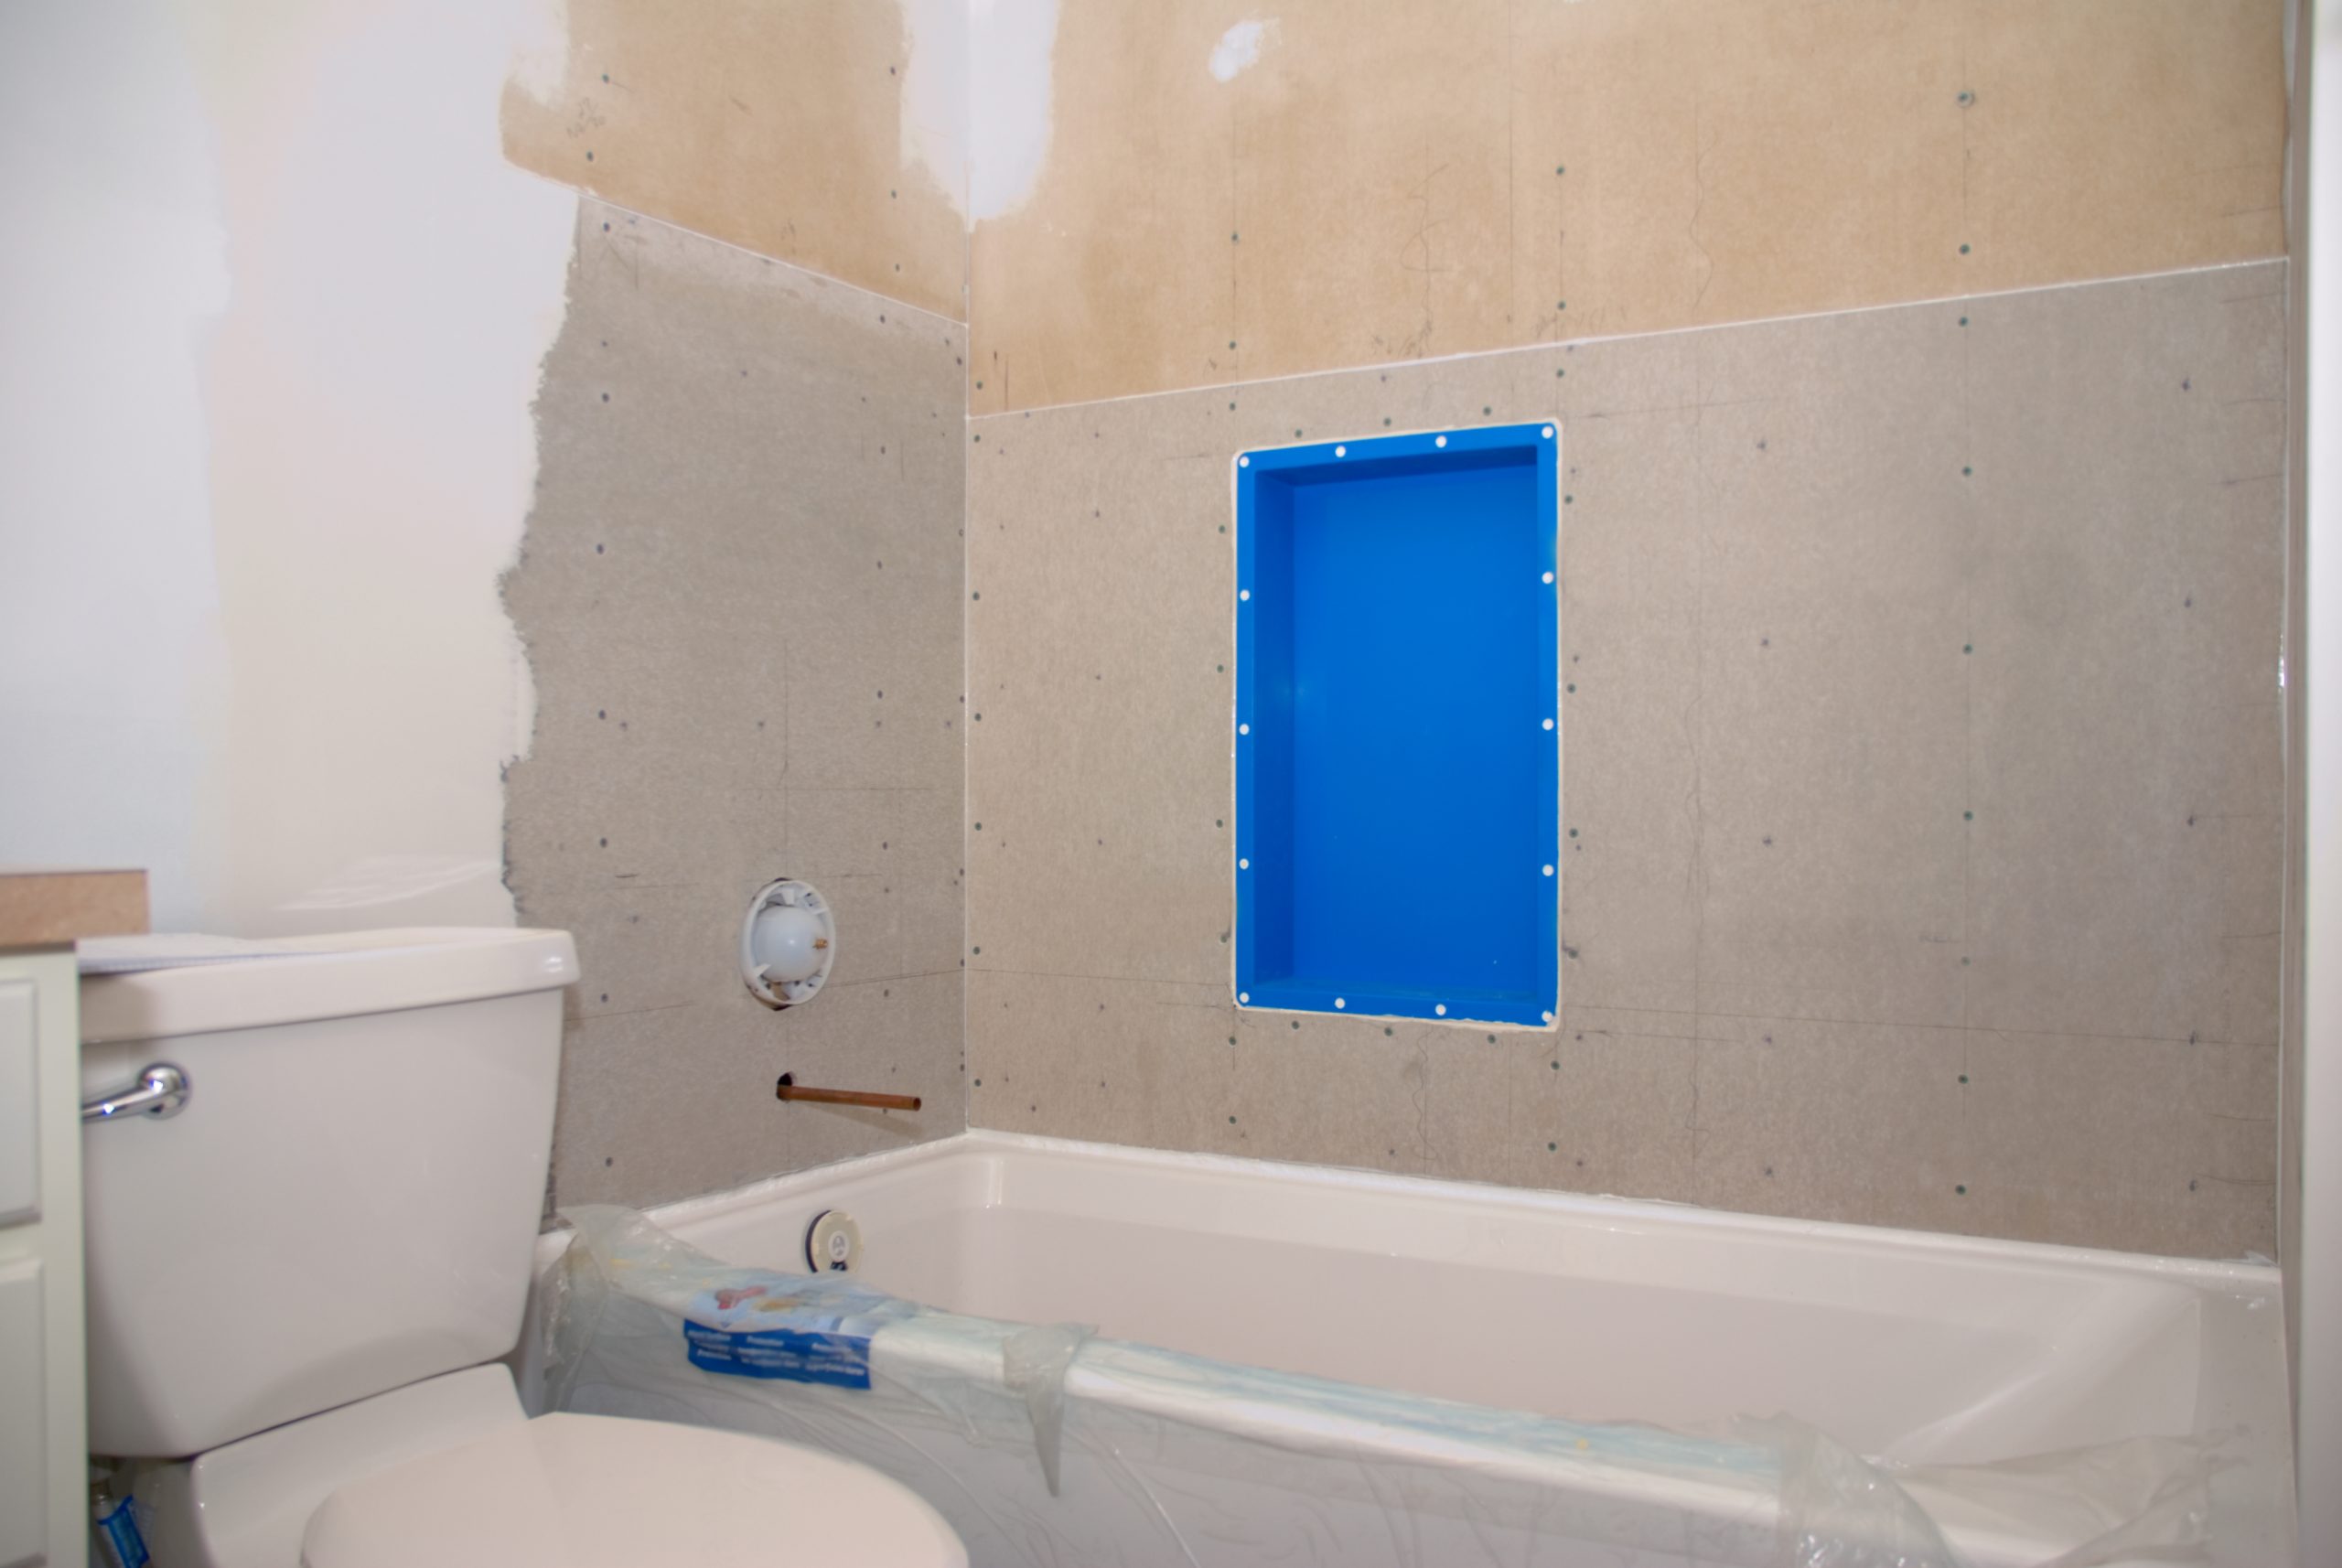
Leaks are another common issue linked to improper substrate preparation. Water can seep through gaps, causing damage that often goes unnoticed until it’s too late. Most people think a good grout job keeps water out. But it’s the unseen layers beneath that truly guard against leaks.
Waterproofing your substrate can act as a barrier, keeping unwanted moisture away. This step is your first line of defense. Without it, water can sneak in, leading to costly repairs. Protect your investment by ensuring your substrate is well-prepared and waterproofed.
Mold Prevention Strategies
Mold thrives in damp, hidden places. A poorly prepped substrate can create the perfect environment for mold growth. Many believe mold appears only in neglected spaces. But in reality, it can grow anywhere moisture lurks.
By sealing and properly preparing your substrate, you cut off mold’s access to the moisture it craves. This step doesn’t just protect your tiles; it keeps your entire home healthier. A well-prepared base ensures that mold doesn’t have the chance to settle in, saving you from future headaches and health risks.
Steps for Proper Tile Installation
Now that you understand the importance of preparing your substrate, let’s explore the steps to ensure a successful tile installation. These guidelines will help you navigate the process with confidence.
Essential Home Renovation Tips
Every renovation project begins with a plan. Knowing what to do can prevent setbacks and ensure a smooth process. Start by assessing the area where you’ll install tiles. Is the surface level? Is there any existing damage? Address these issues first.
Use the right materials for your substrate. A common mistake is using unsuitable products that compromise the stability of your tile. Choose high-quality materials specifically designed for your project. This foresight saves time and money in the long run. Remember, the right start leads to a successful finish.
Common Mistakes to Avoid
Avoiding common pitfalls can be as important as knowing what to do. A big mistake is rushing through the prep stage. Many think they can skip steps to save time, but this often leads to more work later. Proper substrate preparation is key.
Another common error is ignoring the manufacturer’s guidelines. These instructions exist for a reason and skipping them can void warranties or lead to failures. Always follow the directions provided for each product you use. This simple step can protect your investment and ensure lasting results.
Expert Tile and Stone Consulting
Sometimes, expert guidance can be invaluable. Consulting with a professional can provide insights you might overlook. They offer practical solutions tailored to your unique project. Think of them as your tile installation partner, guiding you every step of the way.
With decades of experience, an expert knows the tricks of the trade. They can steer you clear of common mistakes and help you make informed decisions. Don’t hesitate to seek advice when needed. It’s an investment in the success of your project.
Real-World Insights and Solutions
Learning from real-world experiences can offer unique insights. Seeing what works—and what doesn’t—can make your project go more smoothly.
Learning from Past Projects
Past projects often teach valuable lessons. Take note of what succeeded and what failed. Many people assume all tile installations are the same, but each project is unique. Learning from previous experiences can keep you from repeating mistakes.
For example, a poorly prepared substrate in one project led to extensive repairs later. By understanding why these issues occurred, you can avoid them in your own home. Use these insights to guide your preparation and execution.
Building Confidence in Remodeling
Confidence is key in any remodeling project. Knowing you’re making the right choices brings peace of mind. Most people fear the unknown elements of a remodel, but preparation can ease these concerns.
By following proven steps and seeking expert advice, you build confidence in your decisions. This approach not only ensures successful results but also transforms the remodeling process into a rewarding experience. When you trust your plan, every choice feels more secure.
Ensuring Long-Lasting Results
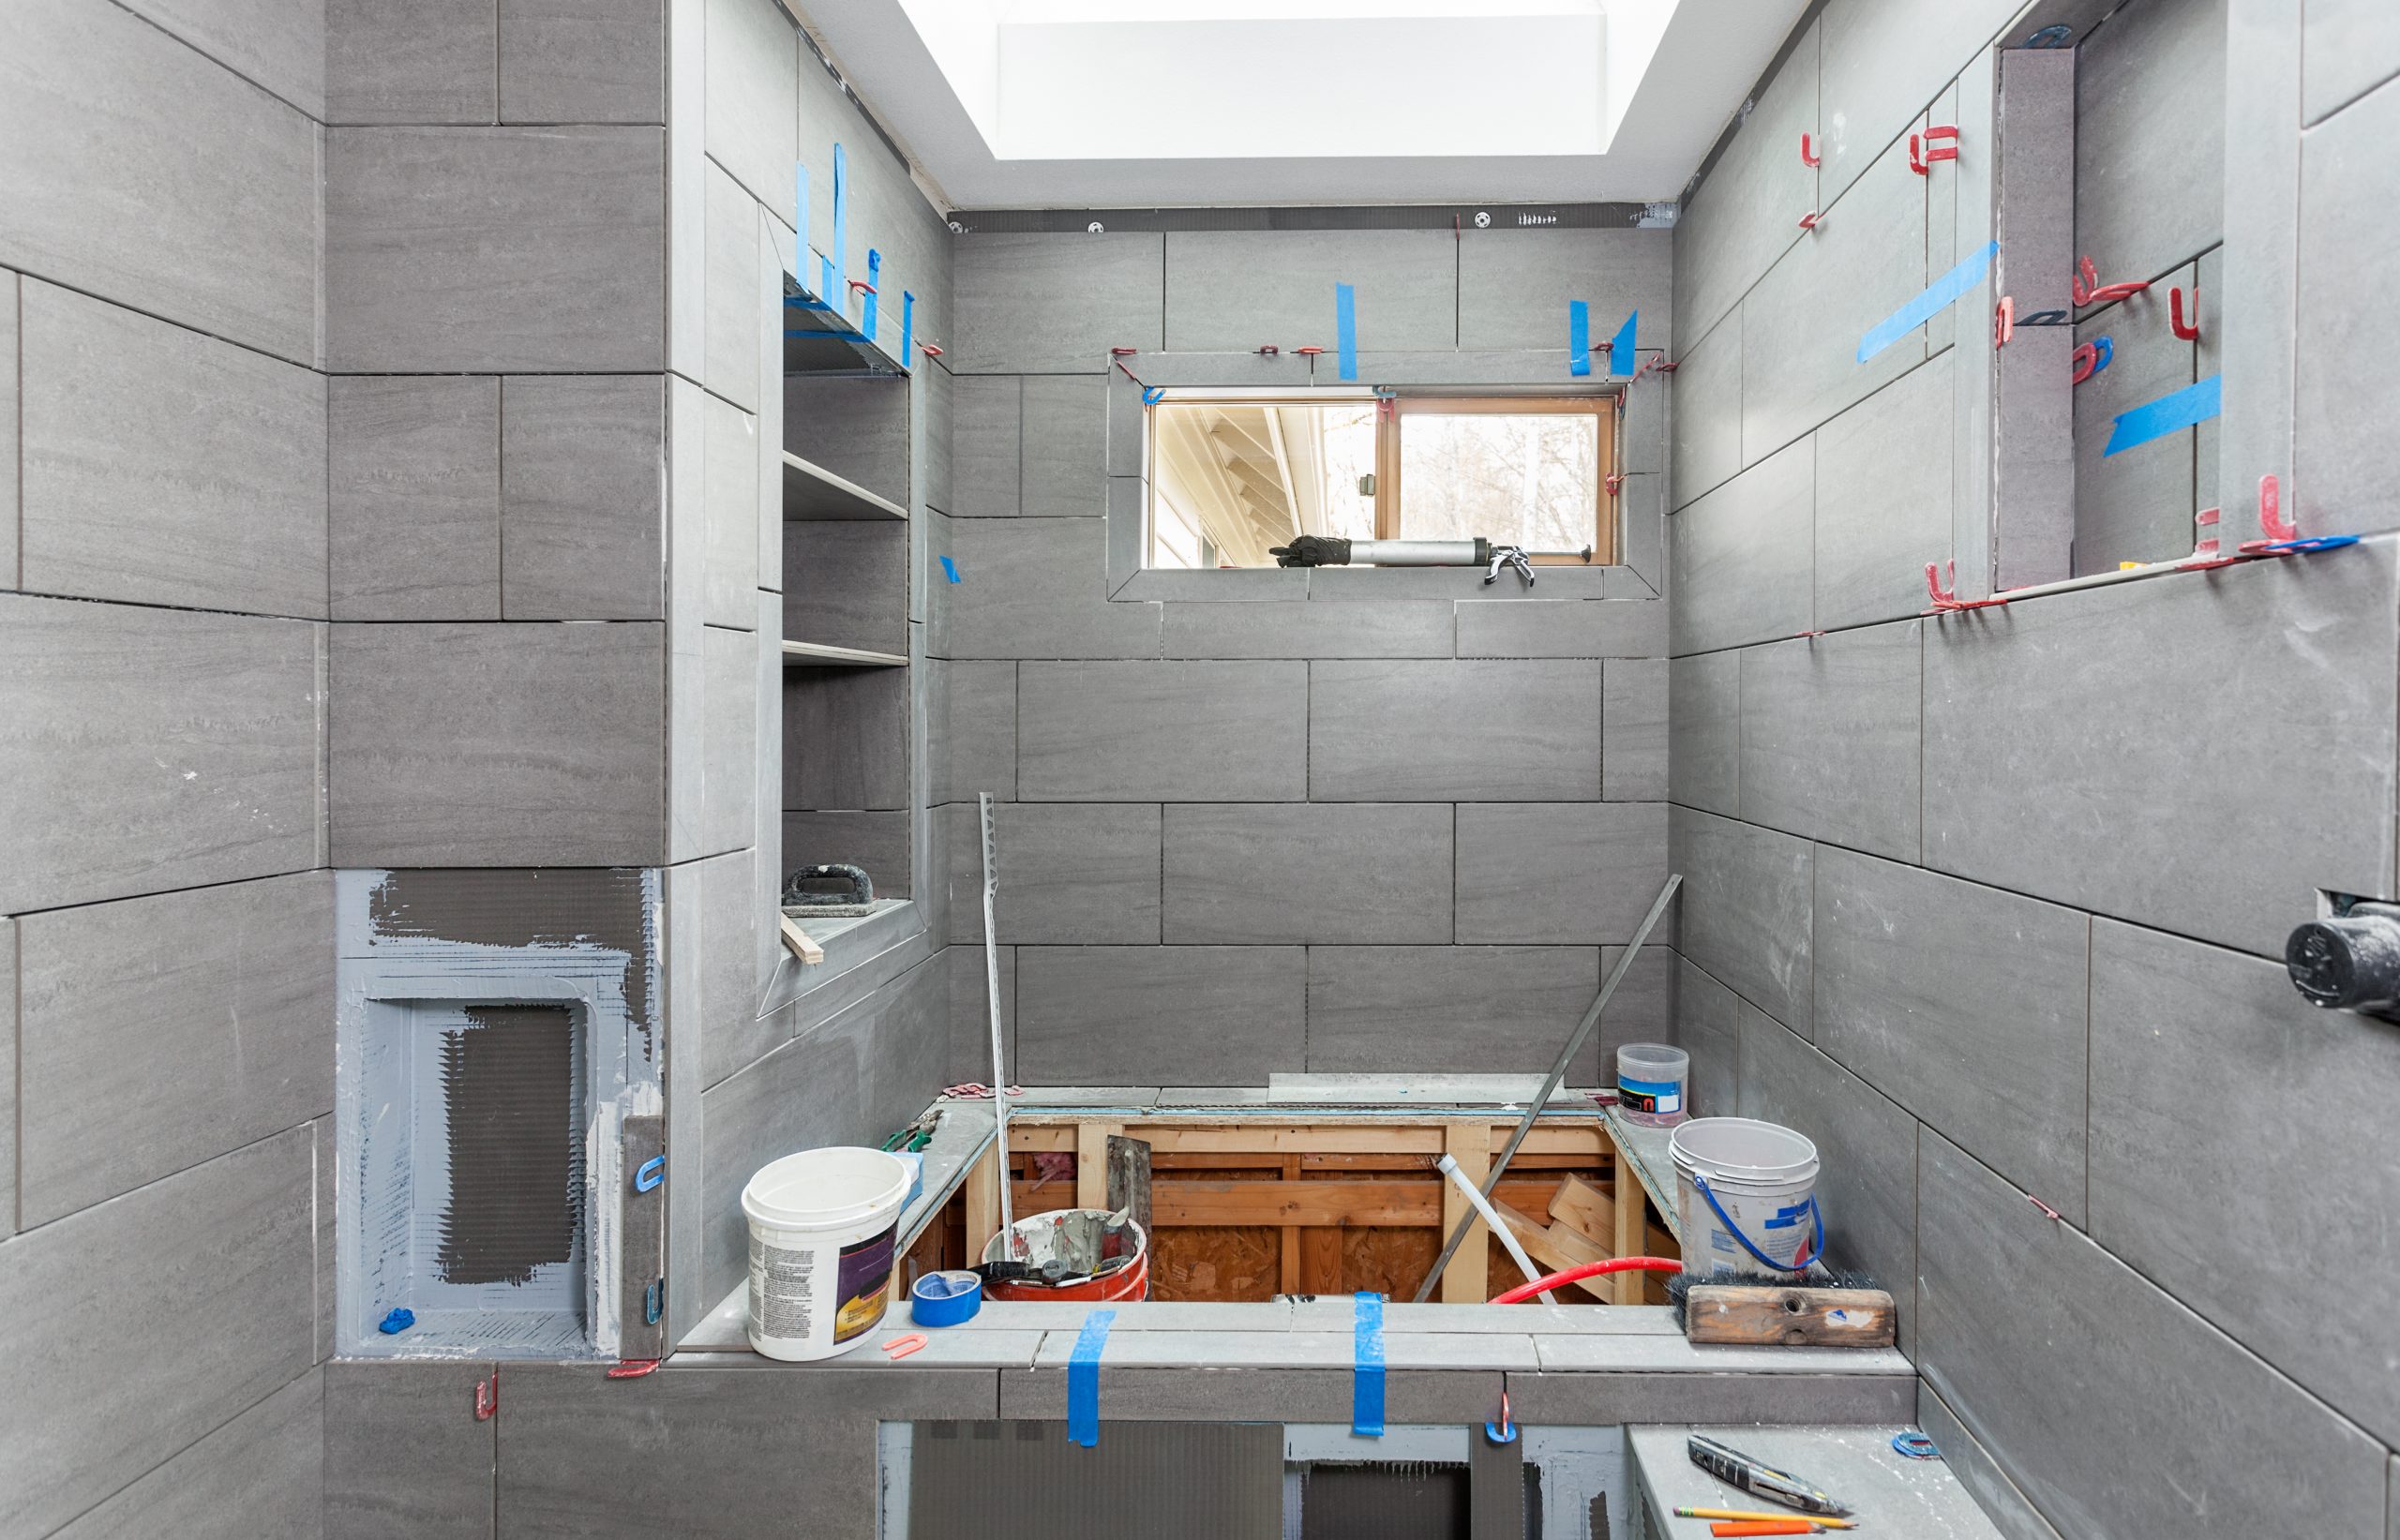
The ultimate goal of any tile project is longevity. You want your tiles to look great and perform well for years. By preparing your substrate properly and following best practices, you ensure your investment lasts.
Remember, the longer you wait to address issues, the more costly they become. Proper preparation now prevents problems later. By taking these steps, you set your project up for success, ensuring your tile installation remains a source of pride and satisfaction.
Leave a Reply