Cracks, leaks, and mold aren’t just annoyances—they’re expensive problems that start beneath your tile. Skipping proper tile substrate preparation sets your remodel up for failure before it even begins. I’ll show you what it really takes to prevent tile cracks and moisture issues so your project lasts for decades. Avoid costly tear-outs. Book a Substrate Readiness Consultation before demo or installation starts. Learn more here.
Importance of Tile Substrate Prep
Starting your tile project with a solid plan can save you a lot of headaches. Proper tile substrate preparation is crucial. It ensures your tiles are secure and prevents costly issues later.
Prevent Tile Cracks
Cracks in tiles are a common issue, often caused by poor preparation. Without a solid base, tiles can shift and crack under pressure. One key to avoiding cracks is ensuring that the substrate is flat and stable. Regular floor surfaces aren’t always suitable for tile installation. They might need extra support to handle the weight and pressure. This is why understanding deflection and ensuring the floor meets standards like L/360 or L/720 is vital. The right preparation keeps your tiles intact and your floors looking pristine.
Defend Against Mold Growth
Mold can be a homeowner’s nightmare, especially in wet areas like bathrooms. The substrate must be watertight to prevent water from seeping through the tiles and causing mold. This is where using a moisture barrier behind the tile becomes necessary. Without it, water can easily penetrate, leading to mold growth. Ensuring the substrate is sealed correctly protects your home from this common issue. Mold not only harms your tiles but can also affect your family’s health.
TCNA Standards and NTCA Methods
To ensure the longevity of your tile, following industry standards is critical. The Tile Council of North America (TCNA) and the National Tile Contractors Association (NTCA) provide guidelines for proper installation. These standards protect you from common pitfalls. By adhering to TCNA and NTCA methods, you avoid shortcuts that can lead to failure. Using these guidelines is like having a roadmap to a successful tile project. You can trust that your installation will stand the test of time.
Key Elements of Proper Preparation
Knowing the key elements of tile preparation can be the difference between a flawless finish and a costly repair job. Let’s explore what makes a solid foundation.
Understanding Vapor Drive and Mold
Vapor drive refers to how moisture moves through materials. If not controlled, it can lead to mold. In humid environments, vapor can seep through tiles and create mold behind walls. This is why considering vapor drive is essential. Using the right materials to manage moisture protects your home. It’s not just about what you see; it’s about preventing what you don’t see. A well-prepared substrate addresses these hidden issues.
Selecting Between Cement Backer Board vs Drywall
Choosing the right material for your substrate is crucial. Cement backer board and drywall are common choices, but they serve different purposes. Cement backer board is more suitable for wet areas because it resists water. It provides a sturdy, moisture-resistant base for tiles. Drywall, on the other hand, is best used in dry areas. It can’t handle water exposure like cement backer board can. Making the right choice here can prevent future damage and costly repairs.
The Role of Uncoupling Membranes
Uncoupling membranes play a significant role in tile installations. They help prevent cracks by absorbing movement between the substrate and tiles. This is particularly important on floors that experience a lot of foot traffic. These membranes allow for some flex without transferring stress to the tiles. This not only prolongs the life of your tiles but also ensures a smooth, flawless finish. Incorporating them into your preparation can save you from future issues.
Essential Steps for Success
To achieve a long-lasting tile installation, following certain steps is key. These steps ensure your project is built on a solid foundation.
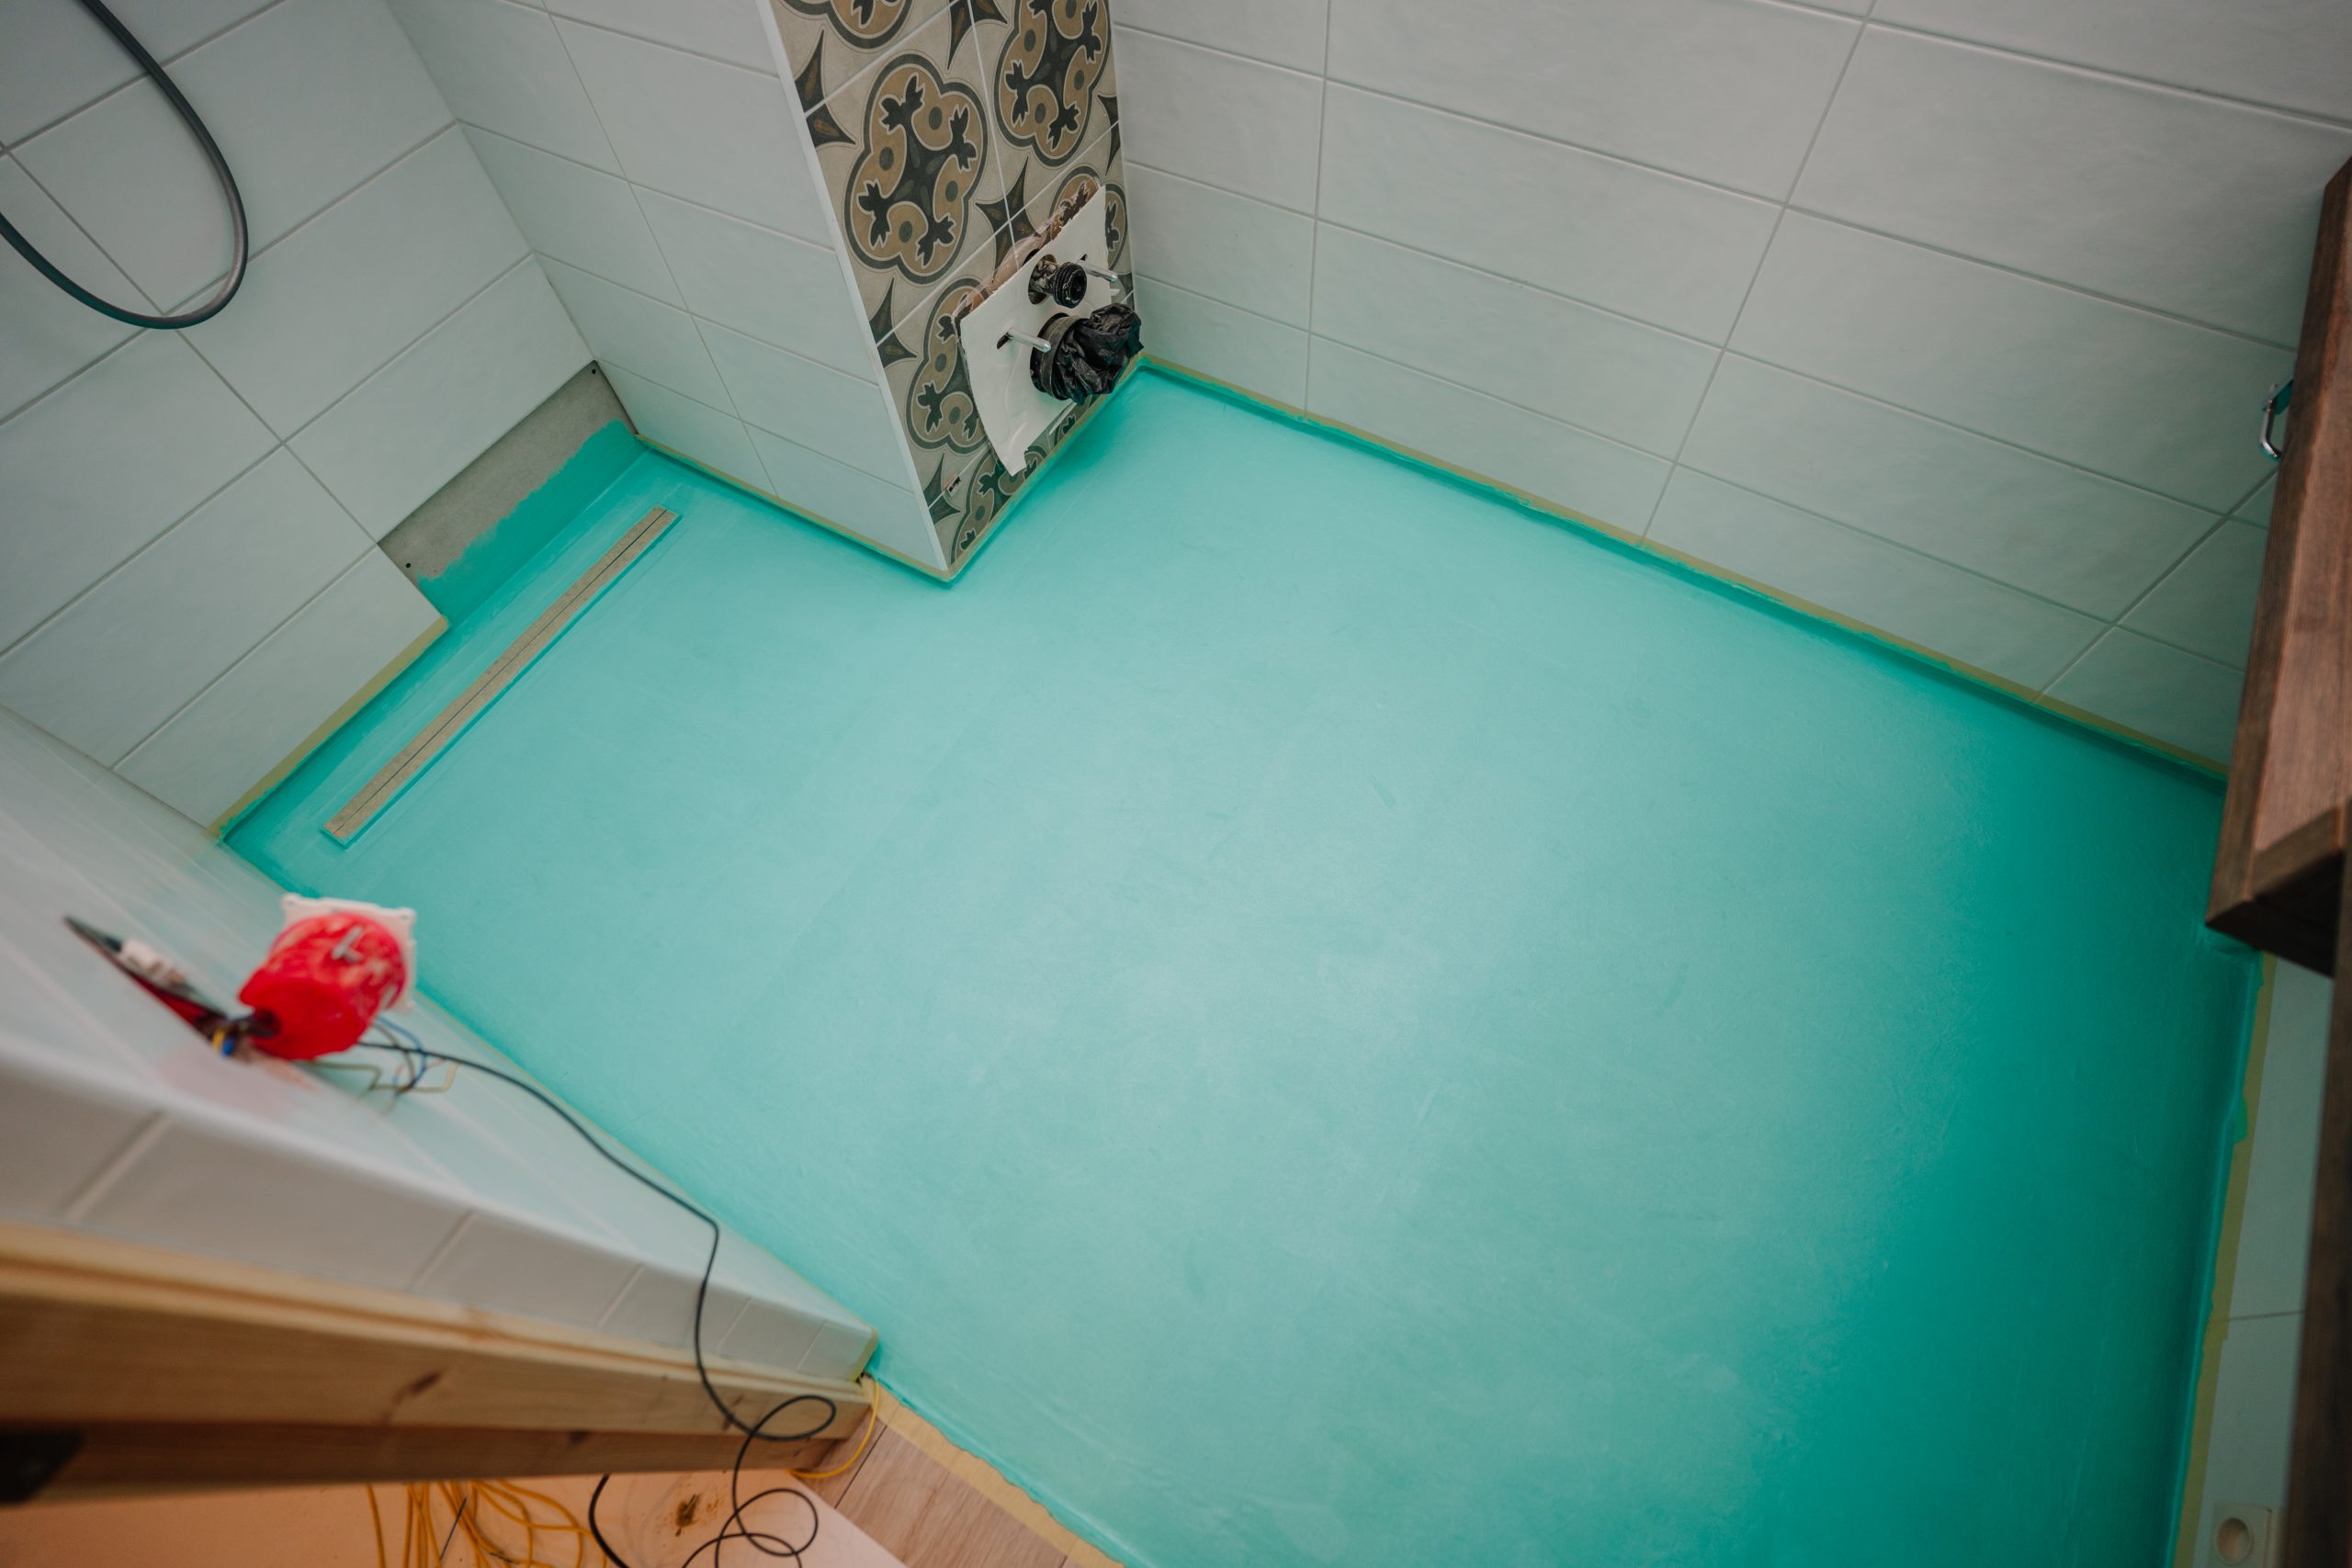
Shower Waterproofing Checklist
Waterproofing your shower is crucial to prevent leaks. Here’s a simple checklist to guide you:
- Pre-Slope Shower Pan: Ensure a proper slope for water drainage.
- Install Moisture Barriers: Use barriers behind tiles to protect walls.
- Flood Test Shower: Test for leaks before tiling.
Following these steps can prevent water damage and give you peace of mind.
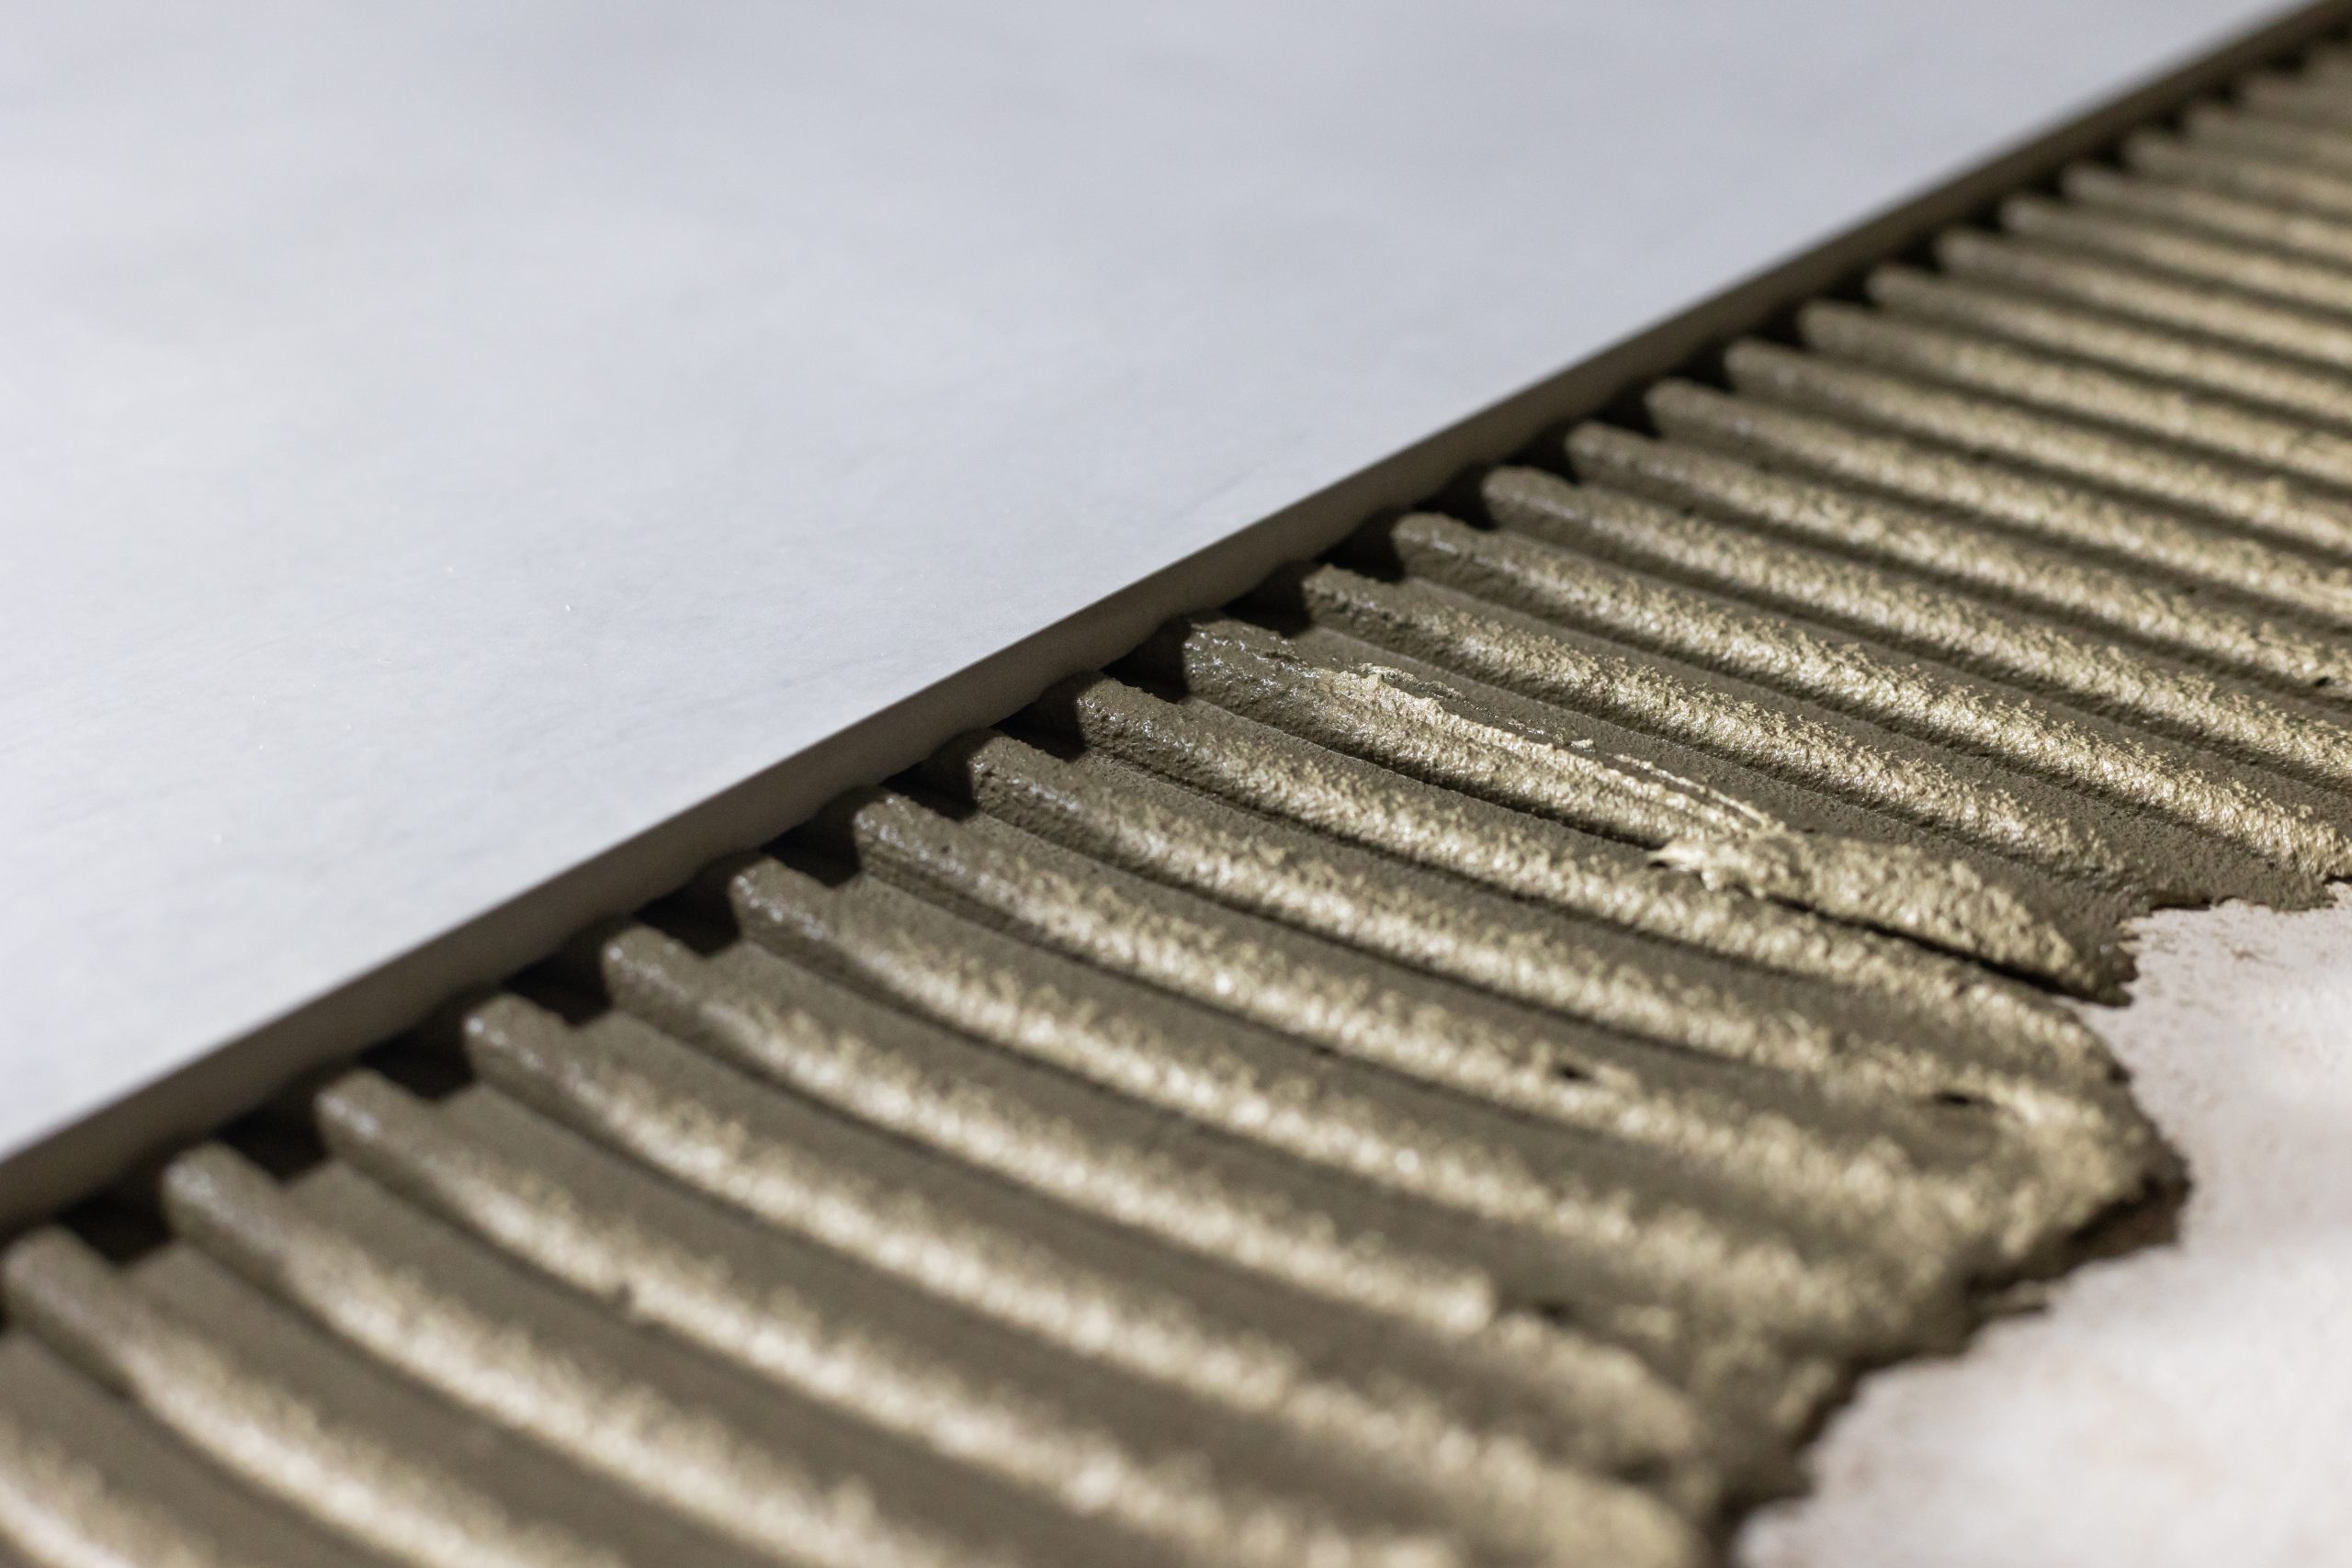
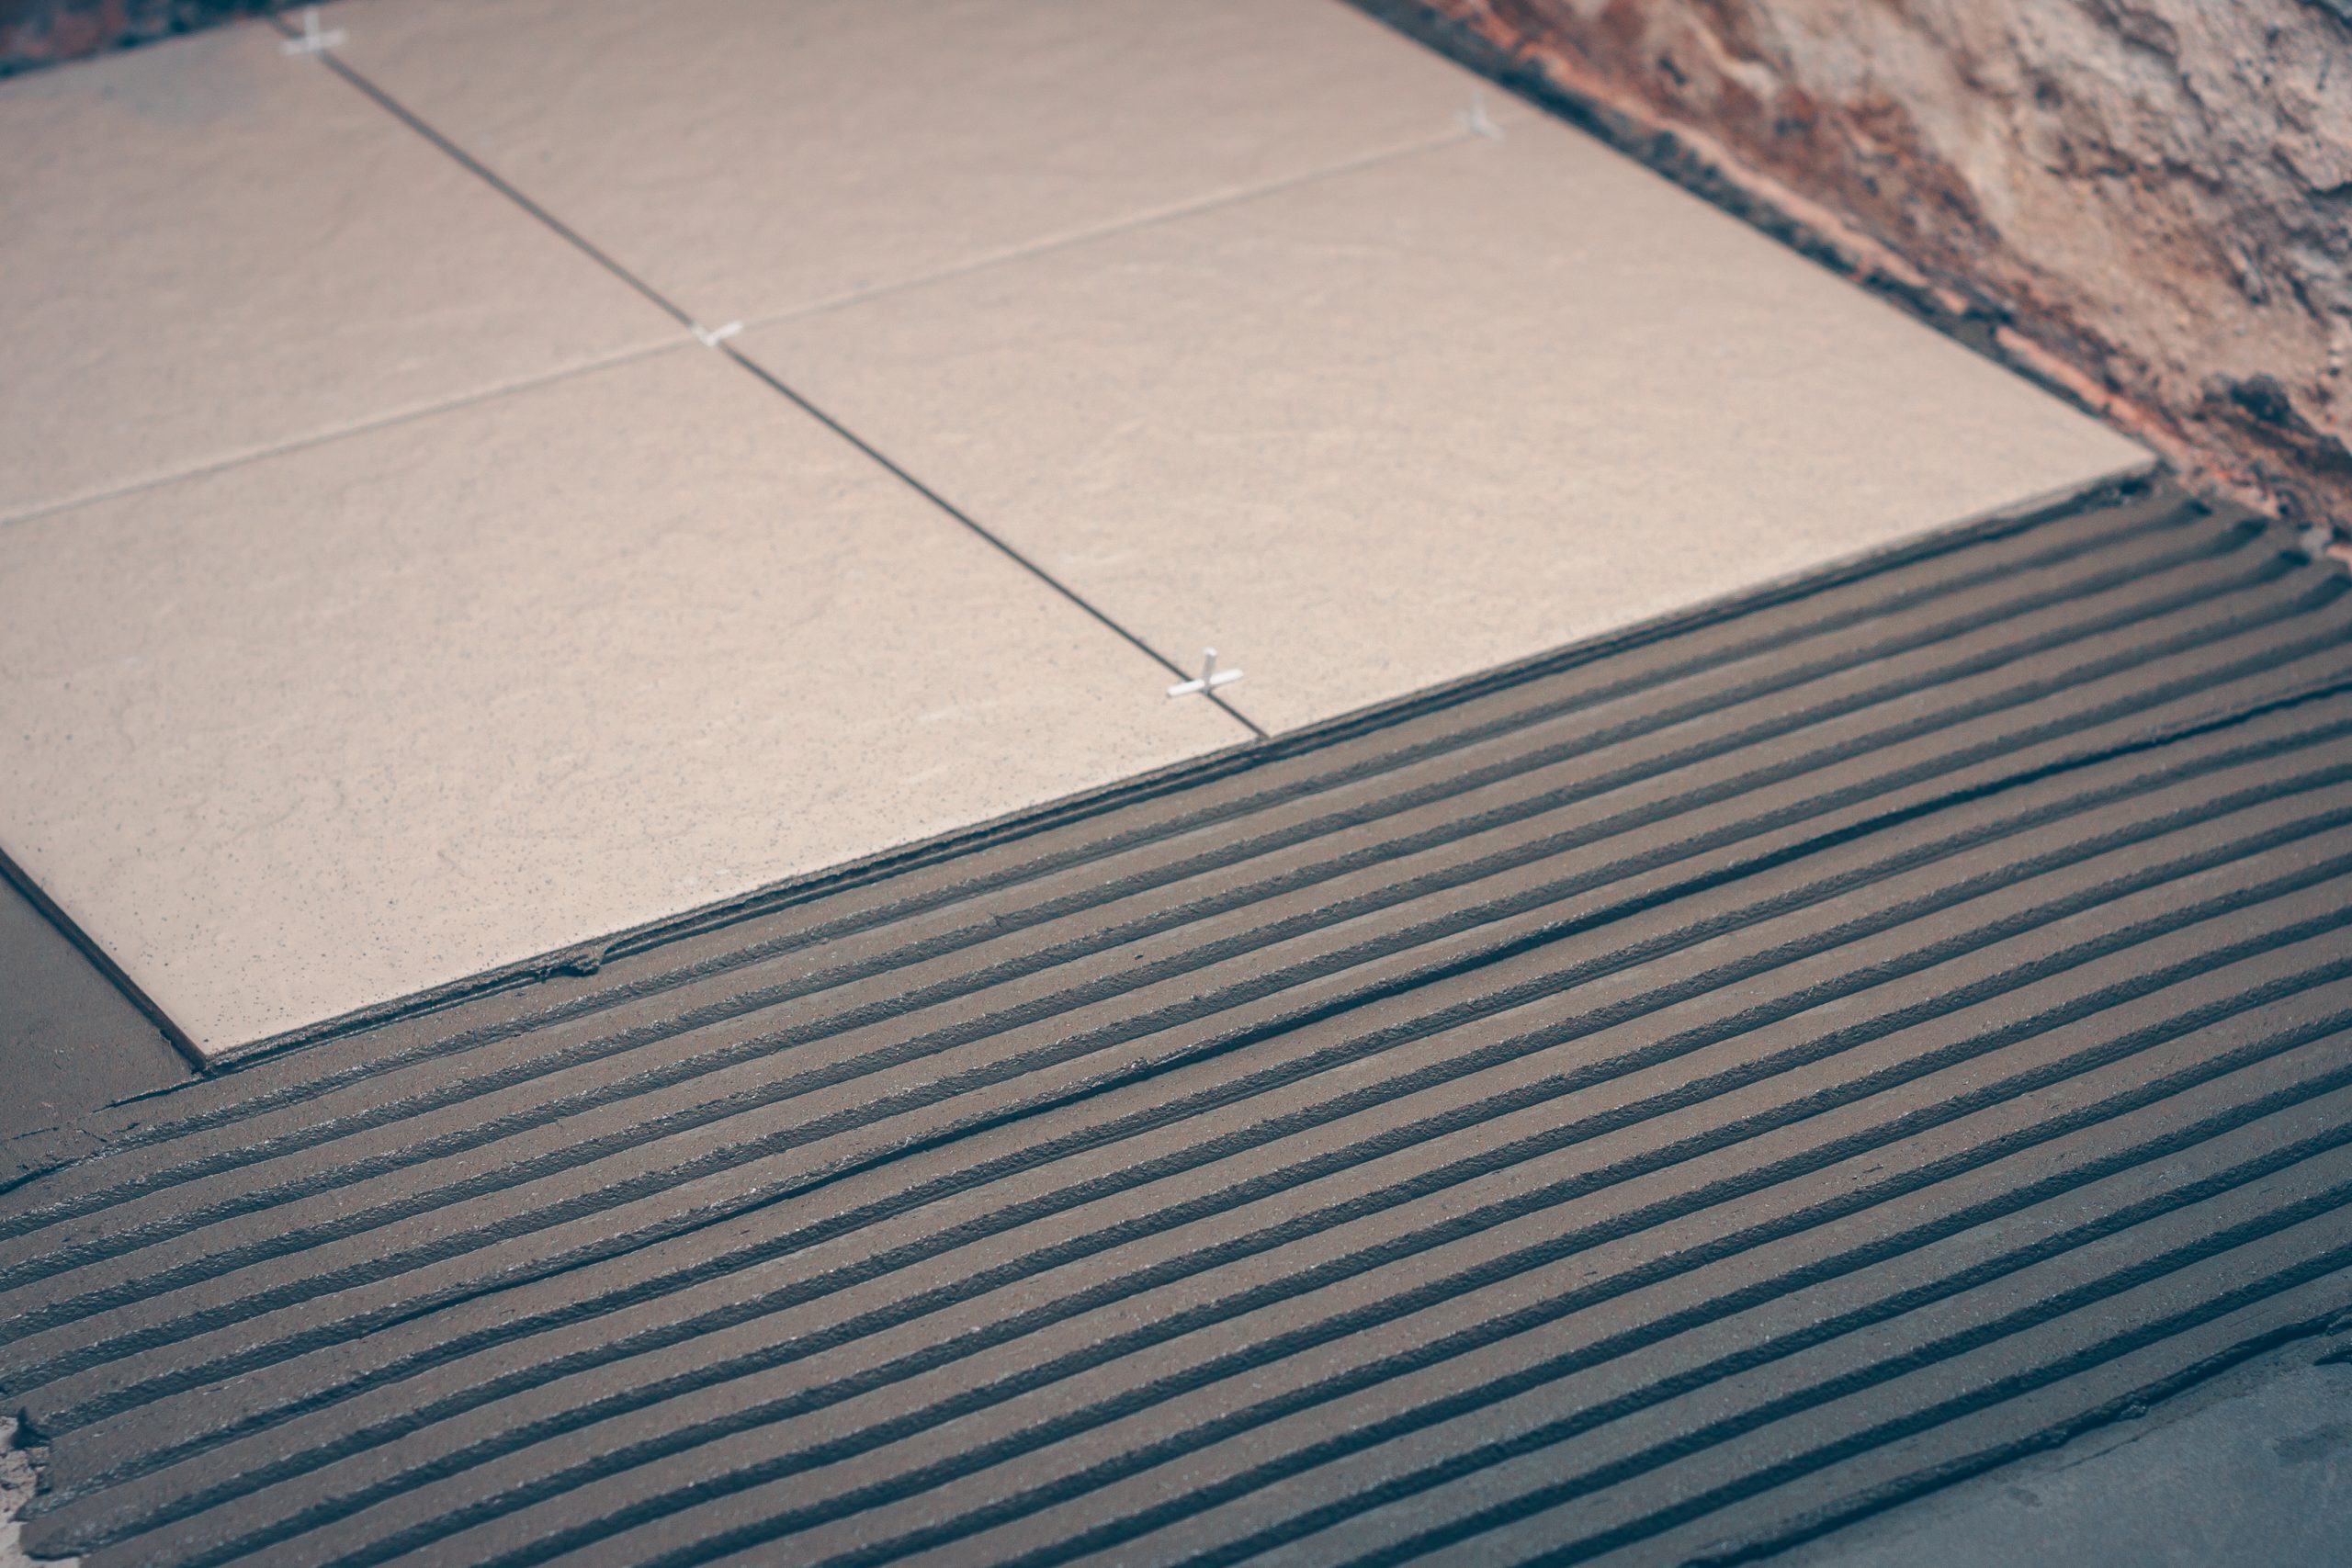
Ensuring Tile Substrate Flatness
Flatness is vital for a successful tile installation. An uneven substrate can lead to lippage, where tiles don’t sit flush. Use a straight edge to check for high and low spots. Address these areas before tiling. A flat surface ensures a seamless, professional finish. It also prevents stress on the tiles, reducing the risk of cracks. Taking the time to ensure flatness pays off in the long run.
Planning Movement Joints in Tile
Movement joints are essential in tile installations. They allow for expansion and contraction, preventing cracks. These joints are especially important in large areas or where there’s a change in material. Properly placed movement joints help your tiles withstand environmental changes. Planning for them in your design ensures the durability and longevity of your installation. It’s a small detail that makes a big difference.
By focusing on these preparation aspects, you set your tile project up for success. Proper planning and execution protect your investment and ensure a beautiful, lasting result.
Leave a Reply