Most tile installations fail long before their time because of hidden mistakes no one talks about. You might think you’ve covered all the remodel tips, but the truth is, small oversights can ruin your durable tile flooring down the road. I’ve seen thousands of jobs where simple steps were missed—now, I’m here to share the exact actions you need for a tile installation that lasts decades.
Preparing Your Surface
To start your tile installation journey, you need to build a solid foundation. A well-prepared surface ensures your tiles will stay in place for years.
Assessing Subfloor Condition
Begin by checking your subfloor. It’s crucial to have a flat and clean surface before you lay down tiles. Any bumps or dirt can cause tiles to crack or become uneven. Use a straightedge to find any high spots or dips. If you find issues, sand them down or fill them in to create a perfectly level base.
Next, consider moisture levels. Excess moisture can lead to mold or warping. Use a moisture meter to check if levels are safe. If you detect high moisture, you might need to install a vapor barrier or address any leaks first. Remember, a stable subfloor is key to durable tile flooring.
Choosing the Right Underlayment
The underlayment acts as a cushion and provides stability. Choose one that suits your specific needs. For instance, cement board is a popular choice due to its strength and resistance to moisture. If you’re dealing with uneven surfaces, consider self-leveling compounds for a smooth finish.
Think about the area you’re tiling. In bathrooms, waterproofing is essential. Use a membrane that prevents water from seeping through. When selecting underlayment, prioritize long-lasting tiles over quick fixes. The right choice can prevent problems down the road, ensuring your renovation stands the test of time.
Selecting the Perfect Tiles

Now that your surface is ready, it’s time to pick tiles that are both stylish and durable. The right selection can transform your space and add value to your home.
Balancing Style and Durability
When choosing tiles, balance aesthetics with function. Porcelain tiles are highly durable and come in various styles. They resist water and wear, making them a top choice for busy areas.
Ceramic tiles offer diverse designs but may not be as sturdy as porcelain. If you love a specific ceramic style, apply it in low-traffic zones. Always test tiles in your space to see how they look under different lighting. This ensures your renovation reflects your vision while maintaining practicality.
Understanding Tile Ratings and Grades
Tile ratings help you understand their durability and suitability for specific areas. Look for the Porcelain Enamel Institute (PEI) rating. A PEI rating of 3 or higher means the tile can handle heavy foot traffic, perfect for kitchens or hallways.
Grades indicate quality. Grade 1 tiles are top-notch, while Grade 3 might show slight imperfections. Choose Grade 1 or 2 for areas where appearance matters most. Understanding these ratings prevents costly mistakes and ensures your home renovation guide leads to a space you can be proud of.
Ensuring Proper Installation

Even the best tiles need the right installation. This section will guide you through the tools and techniques necessary for success.
Tools and Techniques for Success
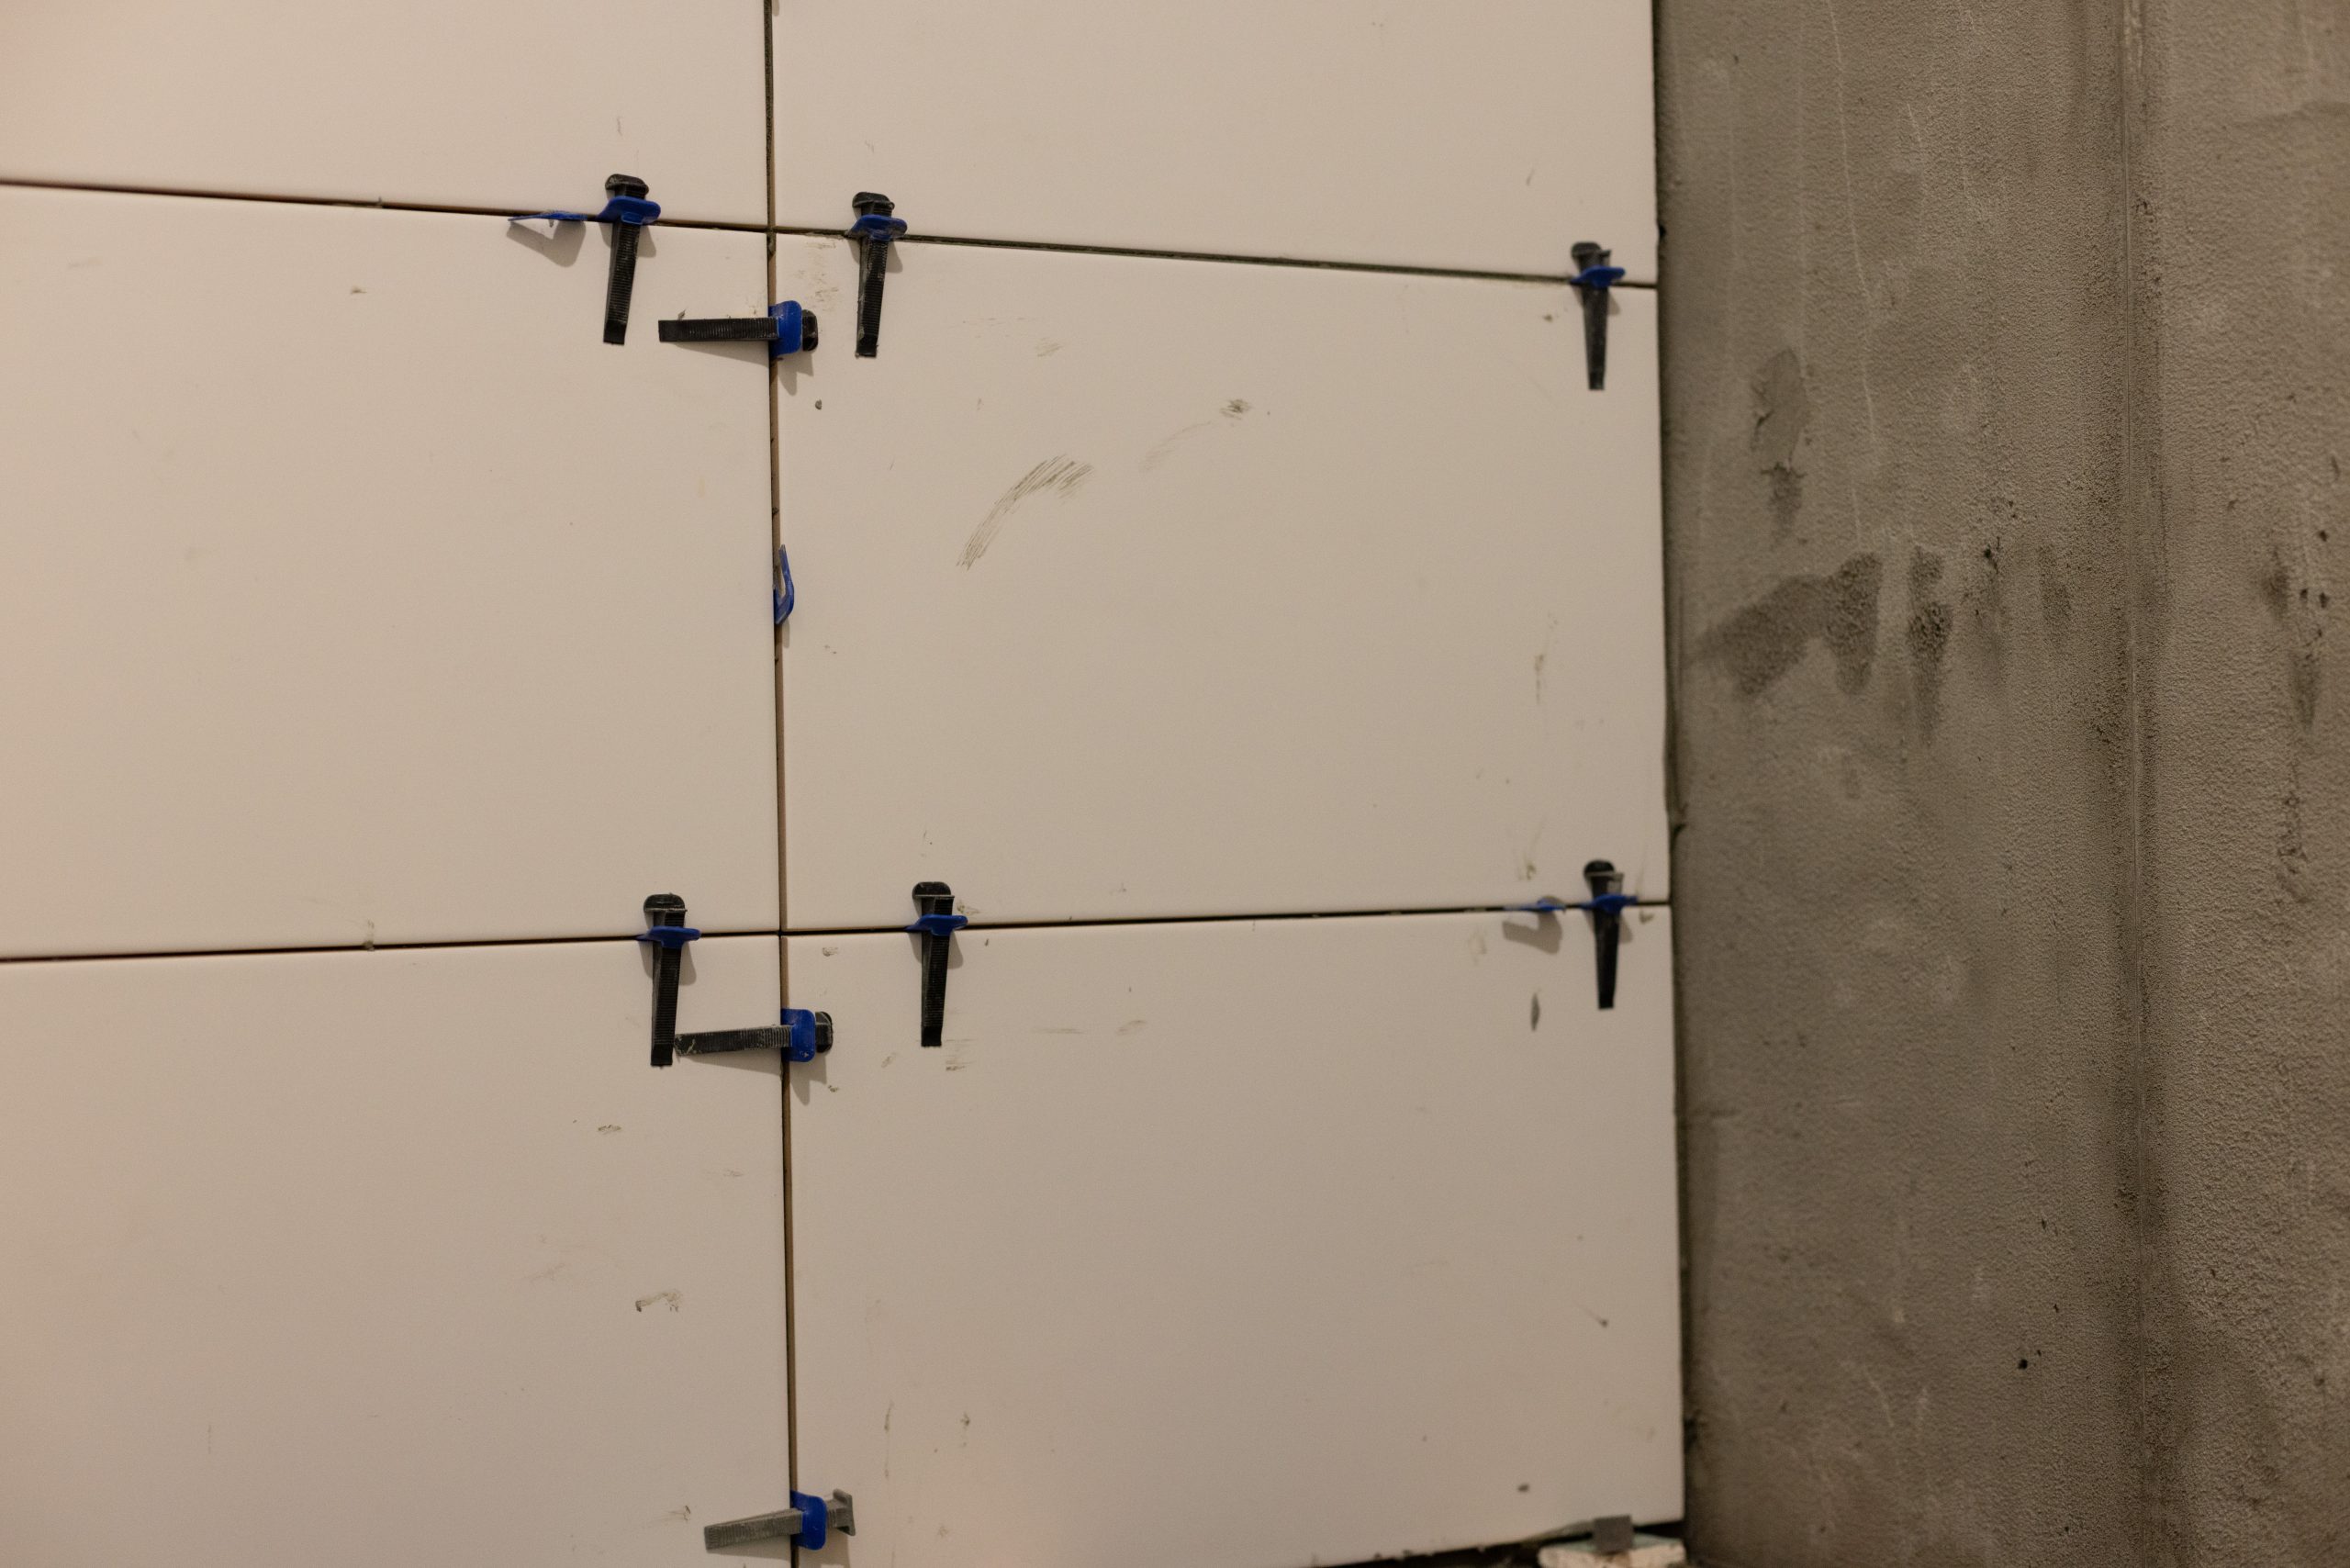
Start with the right tools. A tile cutter, trowel, and level are essential. And don’t forget spacers for even grout lines. Using the right tools ensures precision and saves time.
Mastering the technique is equally important. Apply thin-set mortar evenly. Back-butter tiles for a strong bond. This extra step can prevent tiles from popping up over time. Remember, patience and attention to detail are your best allies in achieving a flawless finish.
Common Pitfalls to Avoid
Many tile installations fail due to common mistakes. Avoid using too much or too little mortar. Both can lead to tiles that aren’t properly secured. Always follow the manufacturer’s recommendations for mixing and applying.
Watch out for uneven grout lines. They can make even the nicest tiles look sloppy. Use spacers to maintain consistency. Finally, don’t rush the drying process. Allow each layer to cure completely before moving to the next step. Skipping this can lead to problems that ruin your hard work.
By following these steps and keeping potential pitfalls in mind, you can ensure your tile installation lasts for decades. Taking the time to prepare properly and choose the right materials will pay off, making your home renovation a success.
Leave a Reply