Most tile problems start well before a single piece goes down—often with overlooked prep work that leads to costly repairs later. If you’re planning a bathroom or kitchen remodel, you need a clear tile prep checklist to avoid surprises. This guide breaks down the key steps every homeowner must verify before installation, so your project meets ANSI A108 and TCNA handbook methods from the start.
Verify Substrate and Slope

Ensuring a strong foundation is crucial before any tile goes down. If the base isn’t right, even the best tiles can’t save you from costly issues.
Substrate Flatness for Tile
Is your floor as flat as it should be? It’s not just about looks; flatness prevents tile from cracking or loosening over time. Use a straightedge to check for any dips or humps across the substrate. A gap of more than 1/8 inch over a span of 10 feet signals the need for leveling. Remember, a flat surface means better adhesion and fewer callbacks. Most people think minor imperfections don’t matter, but they do. Even small irregularities can lead to big problems down the road.
Floor Deflection L/360
You might not think about how much your floor moves, but deflection is a silent culprit in tile failure. The floor must not flex more than the L/360 standard, which means it shouldn’t bend more than the span divided by 360. For example, a 12-foot span should not deflect more than 0.4 inches. Use tools like a laser level or deflection calculator to ensure the structure can handle the weight without bending. Address any issues now to avoid cracked tiles later.
Slope to Drain 1/4 Per Foot
Sloping is vital, especially in wet areas like showers. A slope of 1/4 inch per foot ensures water flows properly towards the drain, avoiding stagnant pools that lead to mildew and leaks. Visualize a shower base with water pooling in the corners. Not only is this a mess, but it also damages the tiles and grout over time. Use a level during installation to verify the slope. The longer you wait to correct this, the bigger the problem becomes.
Waterproofing and Movement Joints
Waterproofing is not just a step; it’s a pillar in preserving your installation. Ignoring this can lead to damage and costly repairs.
Shower Waterproofing Verification
How sure are you that your shower is watertight? Check for a waterproof membrane on the shower walls and floor. A simple water test can confirm its effectiveness. Pour a small amount of water and see if it pools or drains away. Missing waterproofing is a common oversight that leads to mold or rot. Most people assume tiles alone stop water, but without a membrane, you’re inviting trouble.
Movement Joints in Tile
Tiles expand and contract with temperature changes. Incorporating movement joints in your layout prevents cracking or tenting. These joints absorb movement and should be installed around the perimeter and at intervals within large areas. Overlook these, and you risk tiles popping up unexpectedly. Picture a hot summer day; without movement joints, your beautiful tile floor could buckle and crack.
Vapor Retarder vs Waterproofing
In some cases, a vapor retarder is necessary instead of full waterproofing. The difference lies in preventing moisture from seeping through walls versus stopping water entirely. Bathrooms benefit from full waterproofing, while other areas might only need a vapor retarder. Understand your space’s needs to choose the right protection. This decision can save or sink your project.
Material Selection and Surface Prep

Choosing the right materials and prepping surfaces is like setting the stage for a flawless performance. Get these steps right, and your tiles will look and perform beautifully for years.
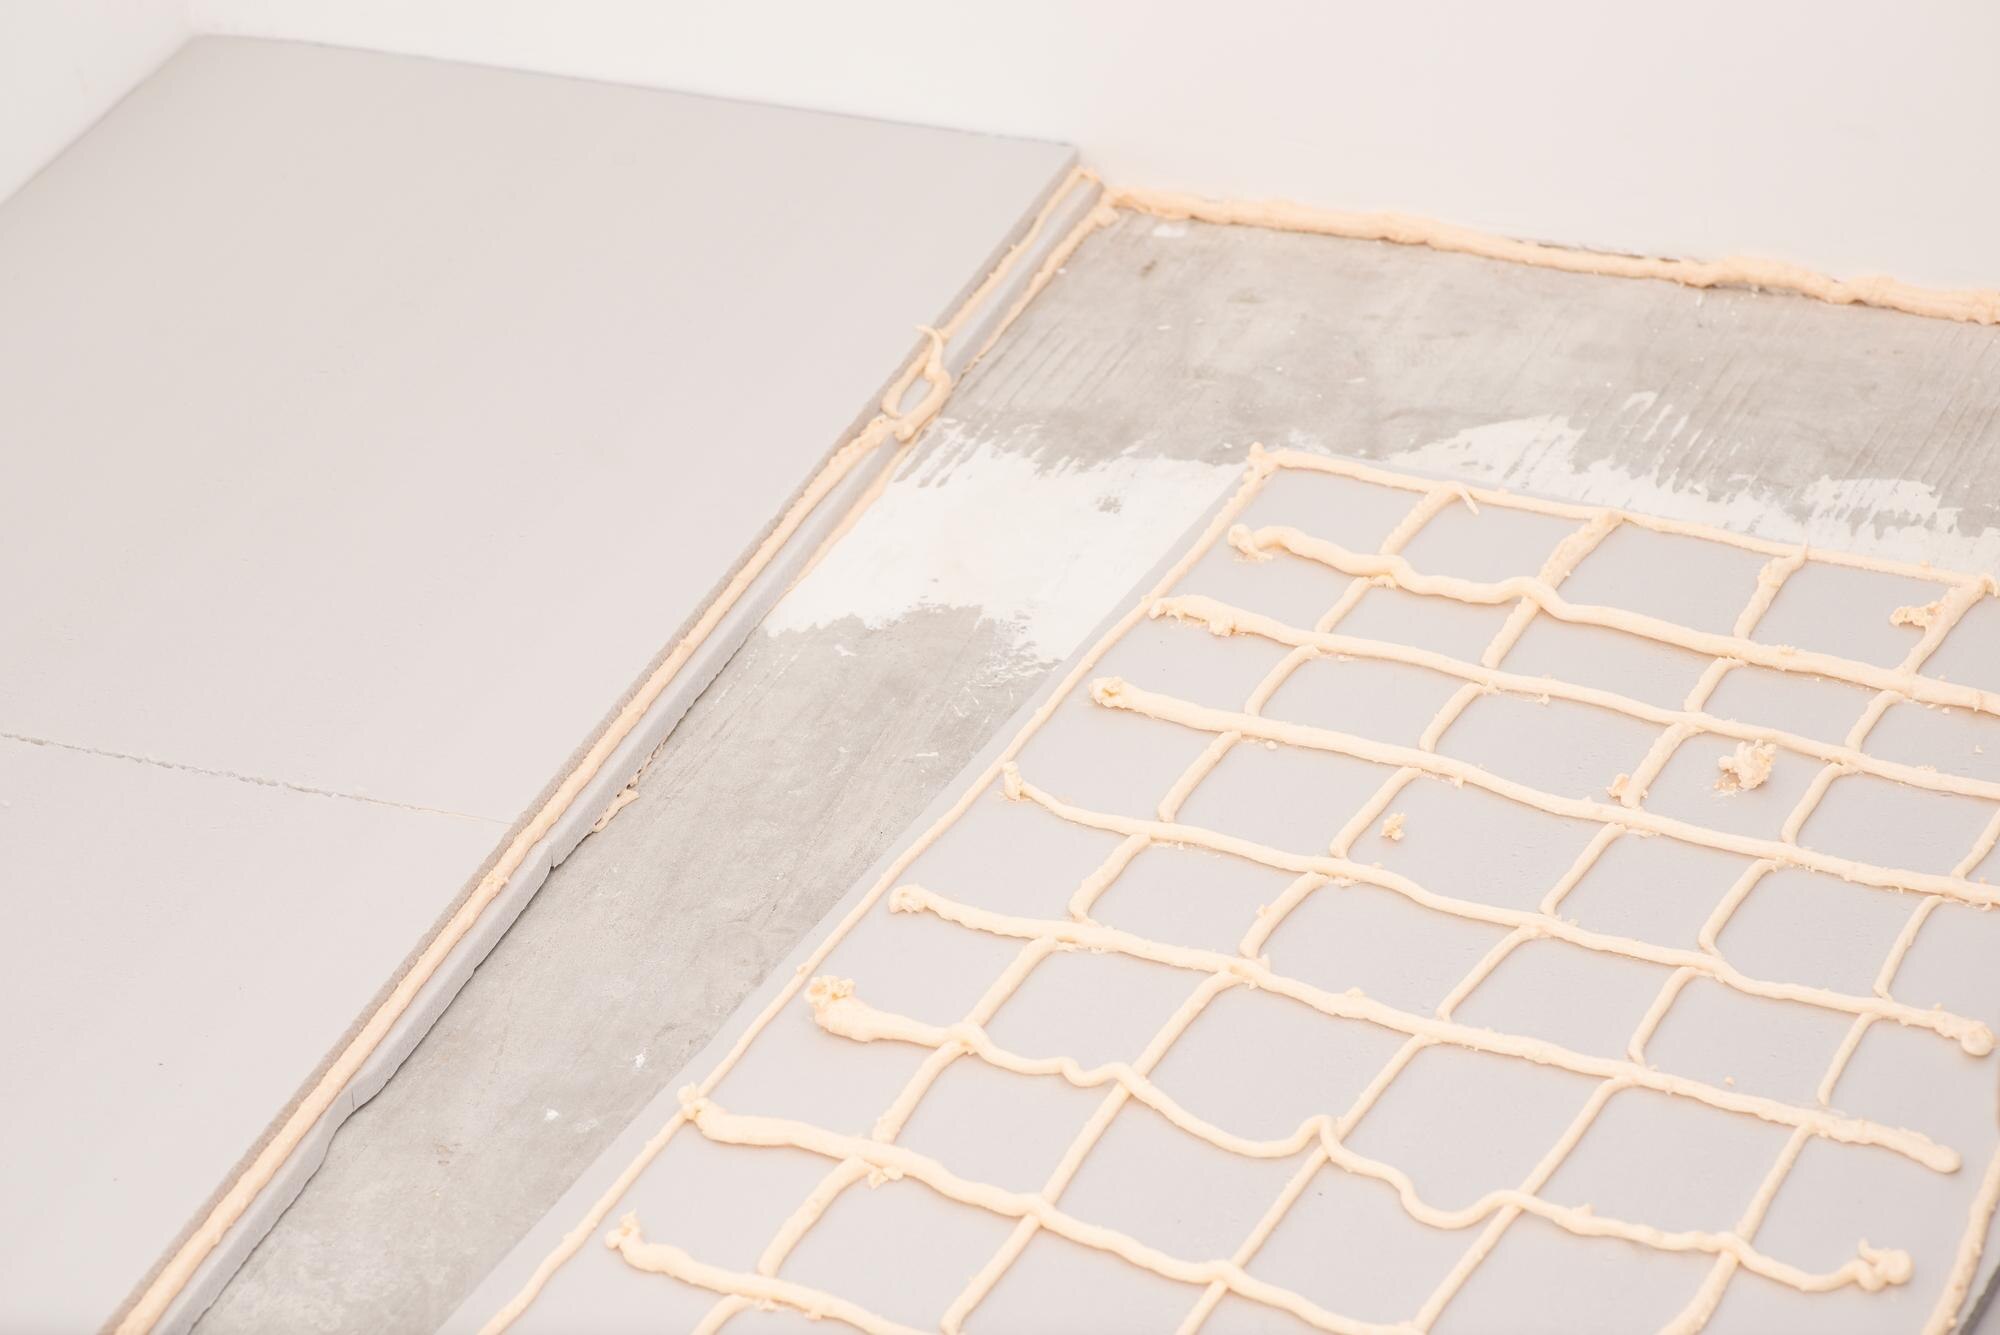
Thinset Mortar Selection
Not all thinsets are created equal. Selecting the right mortar is crucial for adhesion and durability. Factor in the size and type of your tile. For large-format tiles, opt for medium-bed mortars to prevent slump. Proper selection here prevents future issues like tiles shifting or popping. Many think one type fits all, but using the wrong mortar can lead to costly repairs.
Backer Board vs Drywall
Consider the environment where the tiles will be placed. In wet areas, backer boards are a must as they resist moisture and provide a sturdy base. Drywall’s susceptibility to water damage makes it a poor choice for bathrooms. Using the wrong substrate is a mistake that could lead to mold and structural issues. Choose wisely to avoid headaches later.
Primer for Self Leveler
Before pouring a self-leveling compound, check if a primer is needed. The primer ensures proper adhesion and prevents future issues with the leveling layer. Skipping this step is a common oversight that leads to problems. Think of it as the foundation’s foundation—strong and secure. Proper preparation now means fewer issues later, so don’t skip this crucial step.
Each detail matters when it comes to tile installation. By following these steps, you’re setting yourself up for success, avoiding the pitfalls that many homeowners fall into. Whether you’re doing it yourself or working with a contractor, having this knowledge keeps your project on track and your investment protected.
Leave a Reply