Hidden tile failures often lurk in plain sight, quietly driving up costs and delaying your remodel. These tile installation mistakes catch homeowners off guard every day, wasting time and money on fixes that could have been avoided. In this post, you’ll get clear, practical steps to spot and stop the top five mistakes before they derail your project. Before you lay a single tile, read on to protect your budget and your peace of mind. [https://www.instagram.com/p/DVL9dGzD3ch/]
Common Tile Installation Mistakes

Tile failures can cost you time and money, but they’re often preventable. Let’s look at the most common mistakes that can derail your project.
Overlooking Substrate Preparation
Not all surfaces are tile-ready. The base layer, or substrate, must be smooth and stable to hold tiles securely. If the substrate is uneven or weak, your tiles will suffer.
- Flatness is crucial: The surface should be flat, with no more than a 1/8 inch variation over 10 feet. A bumpy surface leads to uneven tiles, known as lippage.
- Cleanliness matters: Dust and debris can weaken adhesion. Always clean the substrate thoroughly before applying any thinset mortar.
- Moisture concerns: Substrates must be dry. Moisture can cause tiles to loosen or crack. Use a moisture meter to check levels before proceeding.
Neglecting substrate preparation is a common oversight, but it can be easily avoided with careful checks. Proper preparation ensures tiles sit flat and stay put.
Inadequate Waterproofing Measures
Water is a tile’s worst enemy. Without proper waterproofing, moisture can seep through, causing damage over time.
- Vapor barriers vs. waterproofing: A vapor barrier stops vapor, but not liquid water. Opt for a full waterproofing system in wet areas like showers.
- Corners and seams: These are vulnerable spots. Use waterproof tape or membrane to seal them tight.
- Regular inspections: Check seals and joints periodically. Any sign of water damage means it’s time for repairs.
Skipping waterproofing might save you time now, but it could lead to costly repairs later. Protect your investment with a thorough waterproofing strategy.
Neglecting Movement Joints
Tiles need room to breathe. Without movement joints, tiles can crack under pressure.
- Expansion joints: Place these every 20-25 feet indoors to allow for natural expansion and contraction.
- Perimeter joints: Leave a gap around the room’s edges. This stops tiles from hitting walls as they shift.
- Fill with flexible material: Use caulk or a similar product to fill joints. This absorbs movement without cracking.
Ignoring movement joints is a common mistake, yet it’s one of the easiest to fix. By planning for movement, you prevent future failures.
Preventing Tile Failures
Avoiding tile problems is simpler than it seems. With the right techniques, you can secure a flawless finish.
Ensuring Proper Thinset Coverage
Thinset binds tiles securely, but only if applied correctly. Coverage is key to a lasting bond.
- Aim for at least 95% coverage: This ensures tiles stay put, especially in wet areas like bathrooms.
- Back butter large tiles: Spread thinset on both the substrate and the tile back for a stronger hold.
- Check as you go: Pull up a tile occasionally to inspect coverage. It should fully contact the tile and substrate.
Proper thinset application is crucial. With these steps, your tiles will adhere firmly and resist movement.
Importance of Tile Layout Planning
A well-planned layout enhances the room’s look and prevents awkward cuts.
- Start at the center: This ensures symmetry and balance.
- Minimize small cuts: Plan to avoid sliver cuts at the edges. Adjust the starting point if needed.
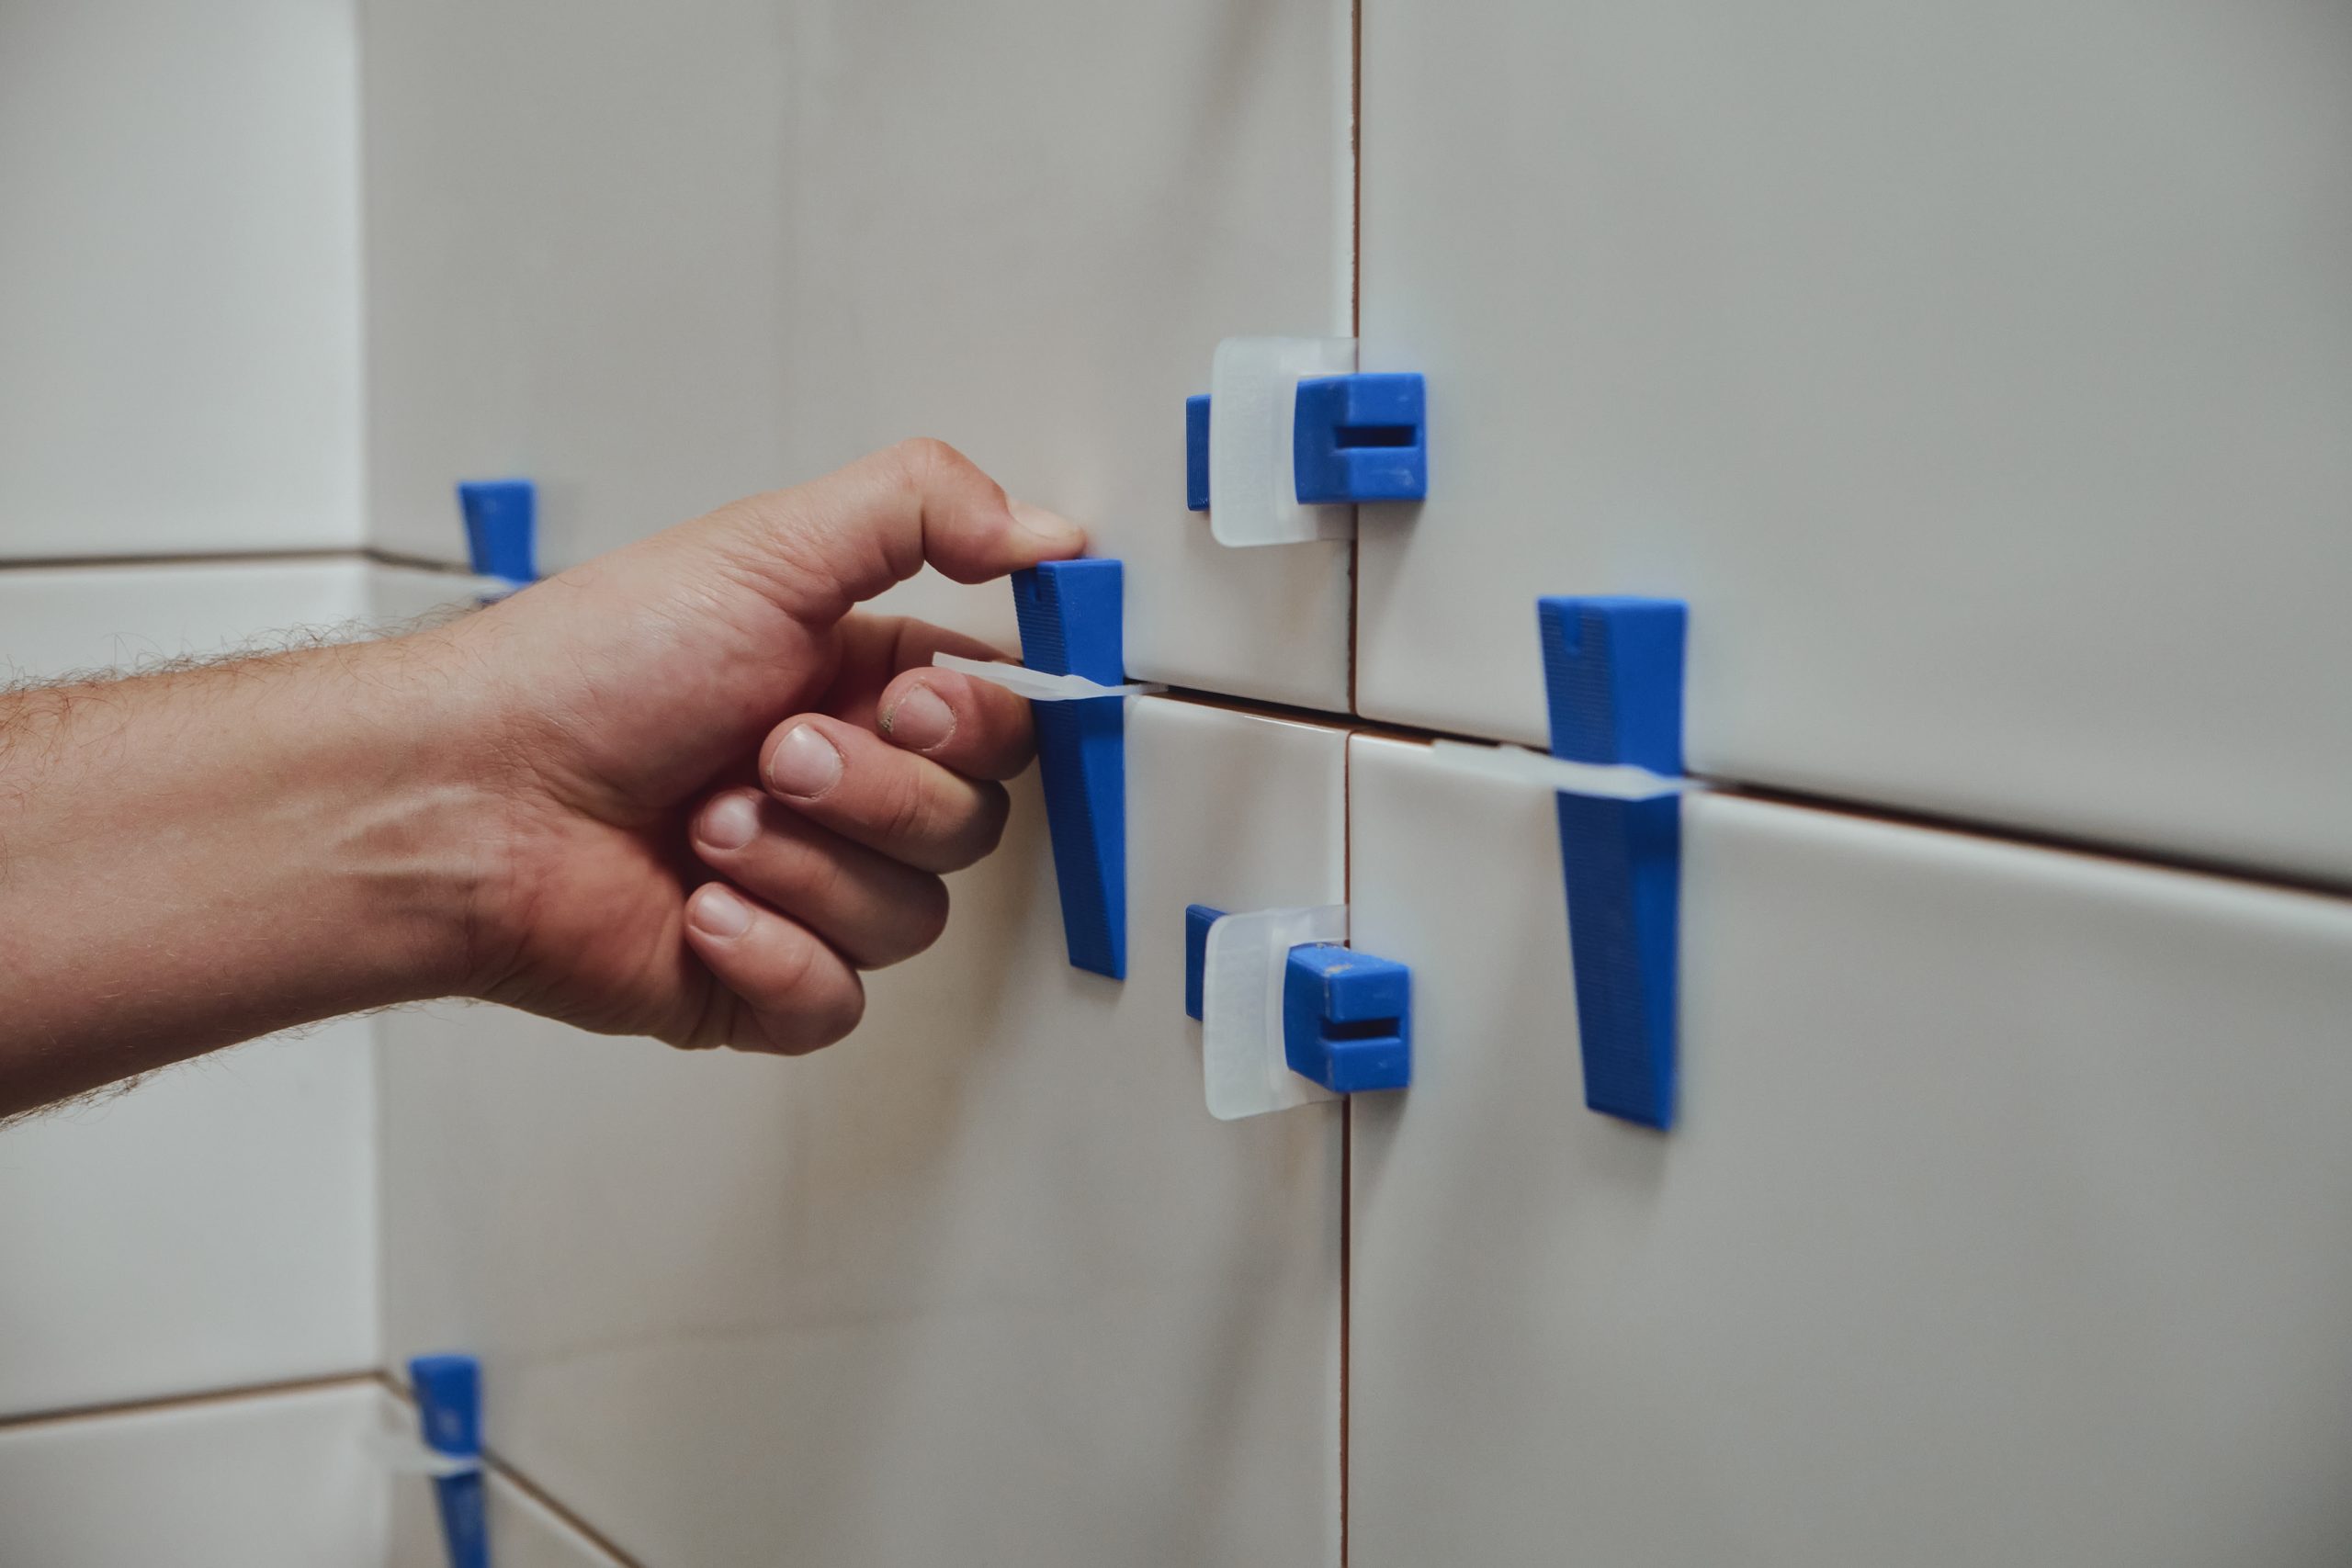
- Use spacers for uniformity: Consistent gaps between tiles ensure they look even and professional.
Planning your layout saves both time and frustration. It’s a small step that makes a big difference.
Effective Communication With Installers
Clear communication with your tilers is vital. It ensures your vision comes to life without misunderstandings.
- Discuss expectations: Share your goals and any concerns before starting the project.
- Clarify standards: Make sure installers follow TCNA and NTCA standards for quality assurance.
- Regular check-ins: Stay involved throughout the process, addressing issues promptly.
Good communication bridges the gap between design and execution. It’s the best way to ensure a seamless result.
Repair and Maintenance Tips

Tiles aren’t maintenance-free. Regular care keeps them looking fresh and prevents minor issues from growing.
Identifying Grout Cracking Causes
Cracked grout is a common complaint, but it’s usually preventable with a few precautions.
- Movement is a major cause: As buildings settle, grout can crack if it’s too rigid. Use flexible grout to absorb movement.
- Check substrate stability: A shifting substrate can crack grout. Fix any underlying issues before regrouting.
- Seal grout lines: Sealing keeps moisture out, reducing the risk of cracking.
Understanding why grout cracks helps you stop it before it starts. A little maintenance goes a long way.
Methods for Cracked Tile Repair
Cracked tiles don’t always need replacing. Sometimes, you can fix them with less effort.
- Small cracks: Use a tile repair kit to fill and seal minor imperfections.
- Larger damage: If replacement is needed, carefully remove the cracked tile and apply a new one with fresh thinset.
- Prevent future cracks: Ensure proper installation and use movement joints to avoid stress on tiles.
Repairing tiles doesn’t have to be daunting. With the right approach, you can restore your floors or walls with ease.
Maintaining Shower Pan Slope
A properly sloped shower pan prevents water pooling, which can lead to leaks.
- Check the slope: The pan should slope 1/4 inch per foot toward the drain.
- Inspect regularly: Look for areas where water collects. They might indicate slope issues.
- Address problems quickly: If the slope is wrong, consult a professional to adjust it.
Maintaining the right slope keeps your shower functioning well and prevents costly water damage.
In conclusion, preventing tile installation mistakes is all about knowing what to look for and taking proactive steps. While these insights can save you from common pitfalls, always consider professional guidance for more complex issues. For more expert advice on tile installation, you can explore more resources on our Facebook page.
Leave a Reply